Cavi,
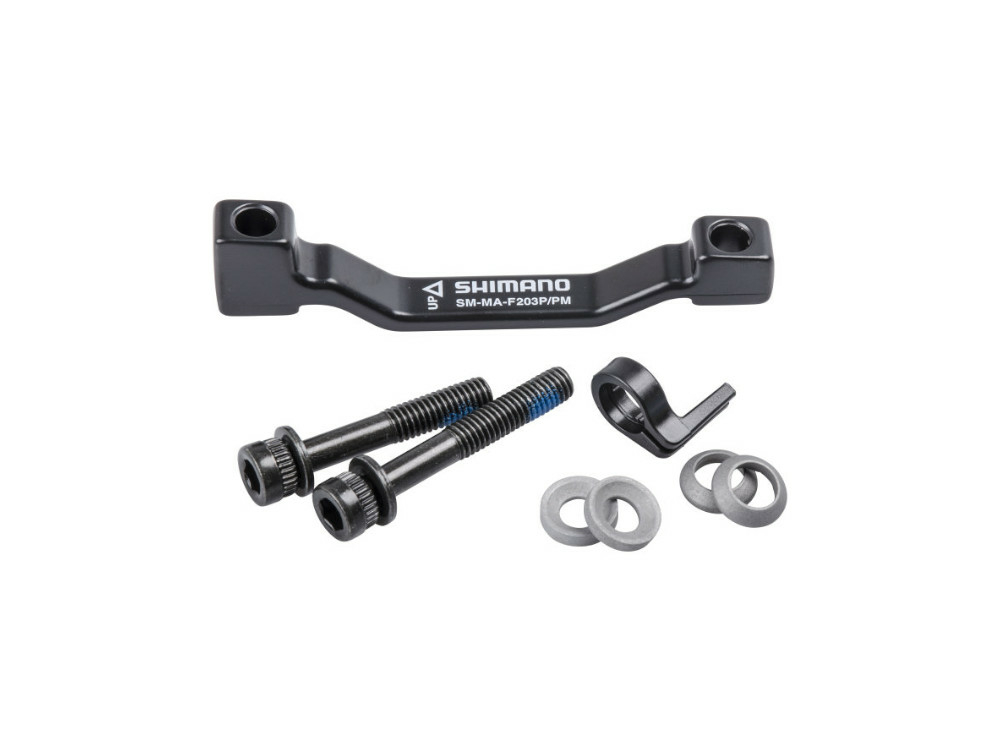
If you decide to go with an XT caliper, instead of a Deore four piston on the rear and you do not want to replace the brake hose, there are several companies which make a banjo adapter for Shimano straight fitting brake hose. With an adapter, you can use the brake hose which comes on your Rise M20. If you do decide to use an adapter, you will also need to buy the bolt which secures the banjo fitting to the caliper.
I have never used a Banjo adapter. I suggest replacing the rear brake hose if you ever do decide to go with a XT caliper. I mention the banjo adapter because I do not know your mechanical ability with regards to replacing a brake hose on the Rise, or access to a bike shop to replace the brake hose. Sometimes you have to adapt and overcome....See what I did there...
I've replaced my M20's brake hoses multiple times when I experimented with SRAM and Shimano brake systems. I ended up using Shimano M8120 XT calipers front and rear. With a 203mm rotor on the front of my Fox 36 and a 180mm on the rear, I have plenty of brake power and I've never experienced any brake fade or rotor overheating.
As for me personally, I like to drop the motor when replacing brake house or cable housing. There are several benefits to dropping the motor. By doing so, you can insure your not going to damage, disconnect, or pinch a wire where pulling brake hose or cable housing through the downtube and over the top of the motor. There are a lot of small gauge wires in the area of the motor.
Pulling the brake hose through the frame using a cable routing tool is absolutely possible, I've done it, however it does not insure the cable or brake housing hasn't forced a wire hard up against a pinch point on the motor or frame. By dropping the motor, you can get your hands up in this area and feel around to make sure nothing is pinched. It also allows you to physically check your shift and dropper cables and replace them if necessary.
If you or any other forum user wishes to replace the rear brake hose or cables on their Rise, here is my process. I am not a professional mechanic. I am 100% sure there are multiple ways to replace a rear brake hose or cable housing on a Rise. This is my process and it works for me. I'm happy to learn from others if you have a better suggestion. If you wish to do the work yourself, awesome! that's how you learn, it's not rocket science. If you have additional questions, send me a message and I'll be happy to help you out.
1) I like to drop the motor only a few inches when I replace my brake hose or dropper/shift cable housing. I do not disconnect any wires and lower the motor onto a padded stool which I place several inches beneath the motor. There is enough slack in the wiring to do this. The motor's bottom is slightly uneven. I use a towel placed on the stool as padding to help stabilize the motor and prevent it from rolling off of the stool while I work. The whole process of removing the motor takes me a little less than ten minutes to do.
NOTE: To lower the motor, you must gain access and remove all six of the hex head bolts. Unfortunately, the chainring prevents one of the hex head bolts from being fully removed and it'll hang the motor up. The chainring must be removed in order to completely remove the bolt. It may be possible to remove the bolt without removing the chainring, but my guess is you'll end up damaging the chainring or the finish on the bolt.
I start by raising my bike up on a bicycle stand. I wrap a velcro strap around the rear brake lever and lock the rear brake. The locked rear brake keeps the front chainring from turning when you go to loosen the chainring nut. If you cannot lock your rear brake, i.e. the caliper has been removed, you can use a chain whip tool to hold the chainring while you loosen the nut. I use Park Tool's "LRT-2 Shimano Steps Lockring Socket Tool" to loosen the chainring spindle nut.
2) Remove the drive side crank arm and chainguide. Place your lockring socket tool on the chainring spindle nut and turn it "Clockwise" to loosen and remove the spindle nut. Note that the shaft is reverse thread and to loosen the nut you must turn the nut clockwise.
3) Pull the derailleur swing arm forward to un-tension the chain. Remove the chain from the chainring. With the chainring nut removed, pull the chainring off the drive spindle with a slight pull. Once the chainring is removed, you now will have access to all six motor mount hex bolts.
4) Jiggle the motor loose and "Slowly" lower the motor down a few inches and onto the stool. Make sure the motor doesn't fall off the stool. Now's a good time to grab a beer (Non IPA) or cup of coffee. There are three aluminum spacers used with the six bolts to mount the motor to the frame. One or more of the spacers may fall out when you remove the motor from the frame. Two of the spacers will have a small machined shoulder. These two spacers mount inside the frame at the front of the motor. The third spacer is flat on both sides and mounts at the back of the motor, non-drive side.
With the motor lowered, you now have access to all brake hose, cable housing and electrical connections. Inspect the shifter and dropper cable housing for wear. If they look bad, now's the time to replace them. Also check your wiring to make sure none of the insulation has been rubbed off from vibration.
5) Remove the black rubber rear brake hose/speed sensor retaining clamp on the inside of the non-drive side swing arm. Remove the brake hose from the rear caliper. Cut the olive off the end of the hose and remove the fitting. Attach the new brake hose to the end of the old hose using either electrical tape or a cable routing tool such as Park Tools "IR-1.2."
The black rubber hose guide tube between the frame and swingarm has a tight tolerance. I like to give my new brake hose a light coating of silicone lubrication to make it extra slippery so it will slide easily through the black rubber hose guide. Gently pull the old hose/new hose through the black rubber speed sensor clamp, the swing arm, through the black rubber hose guide and out the bottom of the frame. You will now have a loop of new brake hose and old brake hose coming out the bottom of the bike.
Now is a good time to grab a beer...Non-IPA....You're working up a sweat, stay hydrated. We don't want you passing out.
6) Gently start pulling the old brake hose out of the head tube while guiding the new brake hose up through the downtube. There is a small loop molded into the inside wall of the headtube. This loop keeps the brake hose from rubbing on the steerer tube. You may have a hang up at the headtube because of the loop. If so, you may have to drop your fork so you can get access to the loop and physically guide the brake hose through the headtube and out the headtube port.
7) Once the new brake hose/cable housing has been pulled out of the headtube, push and pull you new brake hose into position. Be sure you have given yourself enough slack at rear brake caliper to attach the banjo fitting, "O" rings and bolt. Make sure you have enough slack at the brake lever so that you can fully turn your front wheel without pinching the brake line. Do not install the brake hose to the lever. This will be done as a last step.
8) Examine the wiring in the area of the motor. Feel around with your fingers and make sure you have not inadvertently pinched a wire between the frame and housing. Make sure the cables, hose and wiring are sorted and not smashing each other.
9) Attach the banjo fitting to the rear caliper. You may see that the brake hose may be bulging out close to the rear wheel spokes. If this is the case, remove the banjo fitting and give it a 180 degree turn so that the brake hose dips in close to the swing arm and not towards the spokes. Re-attach the banjo fitting. The black rubber speed sensor/brake hose clamp on the inside arm of the swingarm uses a small zip tie to help secure the brake hose to the clamp. Install a new zip tire and tighten the black rubber clamp.
10) The angle where the downtube meets at the frame motor mount is sharp. You want your brake hose where it exits the downtube and makes the bend up into the black rubber hose guide to be snug, but not so snug the brake hose is pulled tight against the upper part of the downtube opening and frame. I like to give the brake hose a finger's width of slack between the downtube opening and top of the frame. The goal is to make sure you don't pinch the brake hose or cable housing where it bends sharply out of the downtube, while also insuring there isn't so much slack that the motor will pinch the hose or housing when you re-install the motor.
11) Prior to mounting the motor, have your Nm torque wrench, blue thread locker and non-IPA beer handy. Make sure the threads on the motor mounting bolts are clear of bulked up thread locker. If they are, clean them up with an old tooth brush. Make sure the six threaded bolt holes on the motor are also clear of debris.
With your fingers, reach up into the frame and make sure the front two motor spacers are pushed into their respective sockets at the front frame motor mounts. Lift the motor up into place. You will have to wiggle the motor a little bit to line up the first few bolts. The rear non-drive side aluminum spacer can be fussy to get into place. I've found it much easier to hold it against the motor and slide both the motor and spacer into position at the same time. Apply a small dab of blue thread locker onto each of the six bolts and install. Do not tighten the bolts until all of the bolts have been threaded into place. Torque the bolts to specification as listed in the "Blue Book" Rise owner's manual.
12) With a rag, clean the splined motor spindle. Clean the spines on the chainring. Place a light coating of lubricant on the spindle splines and chainring splines. Slide the chainring all the way onto the drive spindle. Install the chainring lockring nut and finger tighten counter-clockwise. With your lockring tool, turn the nut counter-clockwise to tighten the lockring to torque specifications.
13) Re-install your crankarm and chainguide arm. I use blue thread locker on the two clamp bolts and tighten to torque specifications. I also use a very small amount of blue thread locker on the threaded crank arm fixing cap.
14) Install the chain and lower the chainguide top piece into position and tighten.
15) Attach the brake hose to the lever using a new olive and barb. Make sure you have enough slack to fully turn the front wheel to either side. There are multiple YouTube videos that detail how to attach and bleed Shimano brake hose.
16) Go out and ride.
As a side note, I just got back from several days of riding in Las Vegas. I did rides out of Bootleg Canyon, Red Rock Canyon and Spring Mountain. Las Vegas has awesome trails. My Rise performed beautifully. If you would like to see pictures from my rides there, here are my Strava links.
Fook Yu - Spring Mountain Trails
View Rod Barton's E-Bike Ride on November 18, 2021 | Strava

www.strava.com
Ike's Peek - Blue Diamond Trails
View Rod Barton's E-Bike Ride on November 17, 2021 | Strava
www.strava.com
Boy Scout - Bootleg Canyon
View Rod Barton's E-Bike Ride on November 17, 2021 | Strava
www.strava.com
Flowjob - Red Rock Canyon
Rod B. rode 14.7 mi on Nov 16, 2021.

www.strava.com

 r2-bike.com


