

I have the Vala in Midnight Green and within the first few weeks gave it a nasty gouge across the top tube with a folding saw, the ones with the double row of teeth! You can only imagine how bad I felt about that! (Stupid Boy). 
I had it checked out and the gouge's deepest cut is in the surface resin and not into the carbon fibre matting.
I checked with Santa Cruz and they told me:
I went to the local car spares place (Halfords in the UK). I was hoping that one of the regular car manufacturers would have similar colour. Chat GPT recommended the following:
But Halfords did not stock paint for any of them. So it was down to the standard colours that they do provide. After three choices made by comparing a phone pic to the paint sample top cap, and a bit of back and forth, I settled on two. One looked a little bit light and the other a little bit dark. It's tricky because the gouge is on the corner of the top tube and the light is different from one end to the other of the gouge.
I had already removed the framewrap from the top tube to get a clearer view. It was a ten minute job, done on a hot day and I got it off in one piece. It looked like a snake had shed its skin. But today was the day to get some paint on! I started with the darker of the two options and hit jackpot!
It was very warm and the paint was drying faster than I could apply it, so I diluted the paint with some 100% iso-propyl-alcohol (it was all I had but it worked). I sprayed some into a wide container and then put a blob of paint into the middle of it. Then used that as my source material.
This was my first attempt. Ignore how crap it looks, it is still very rough and I haven't finished yet. I am showing you this so that you can see that the colour matches! The gouge is about 15mm wide. That yellow tinge at the top is a reflection of the next door neighbours hedge.
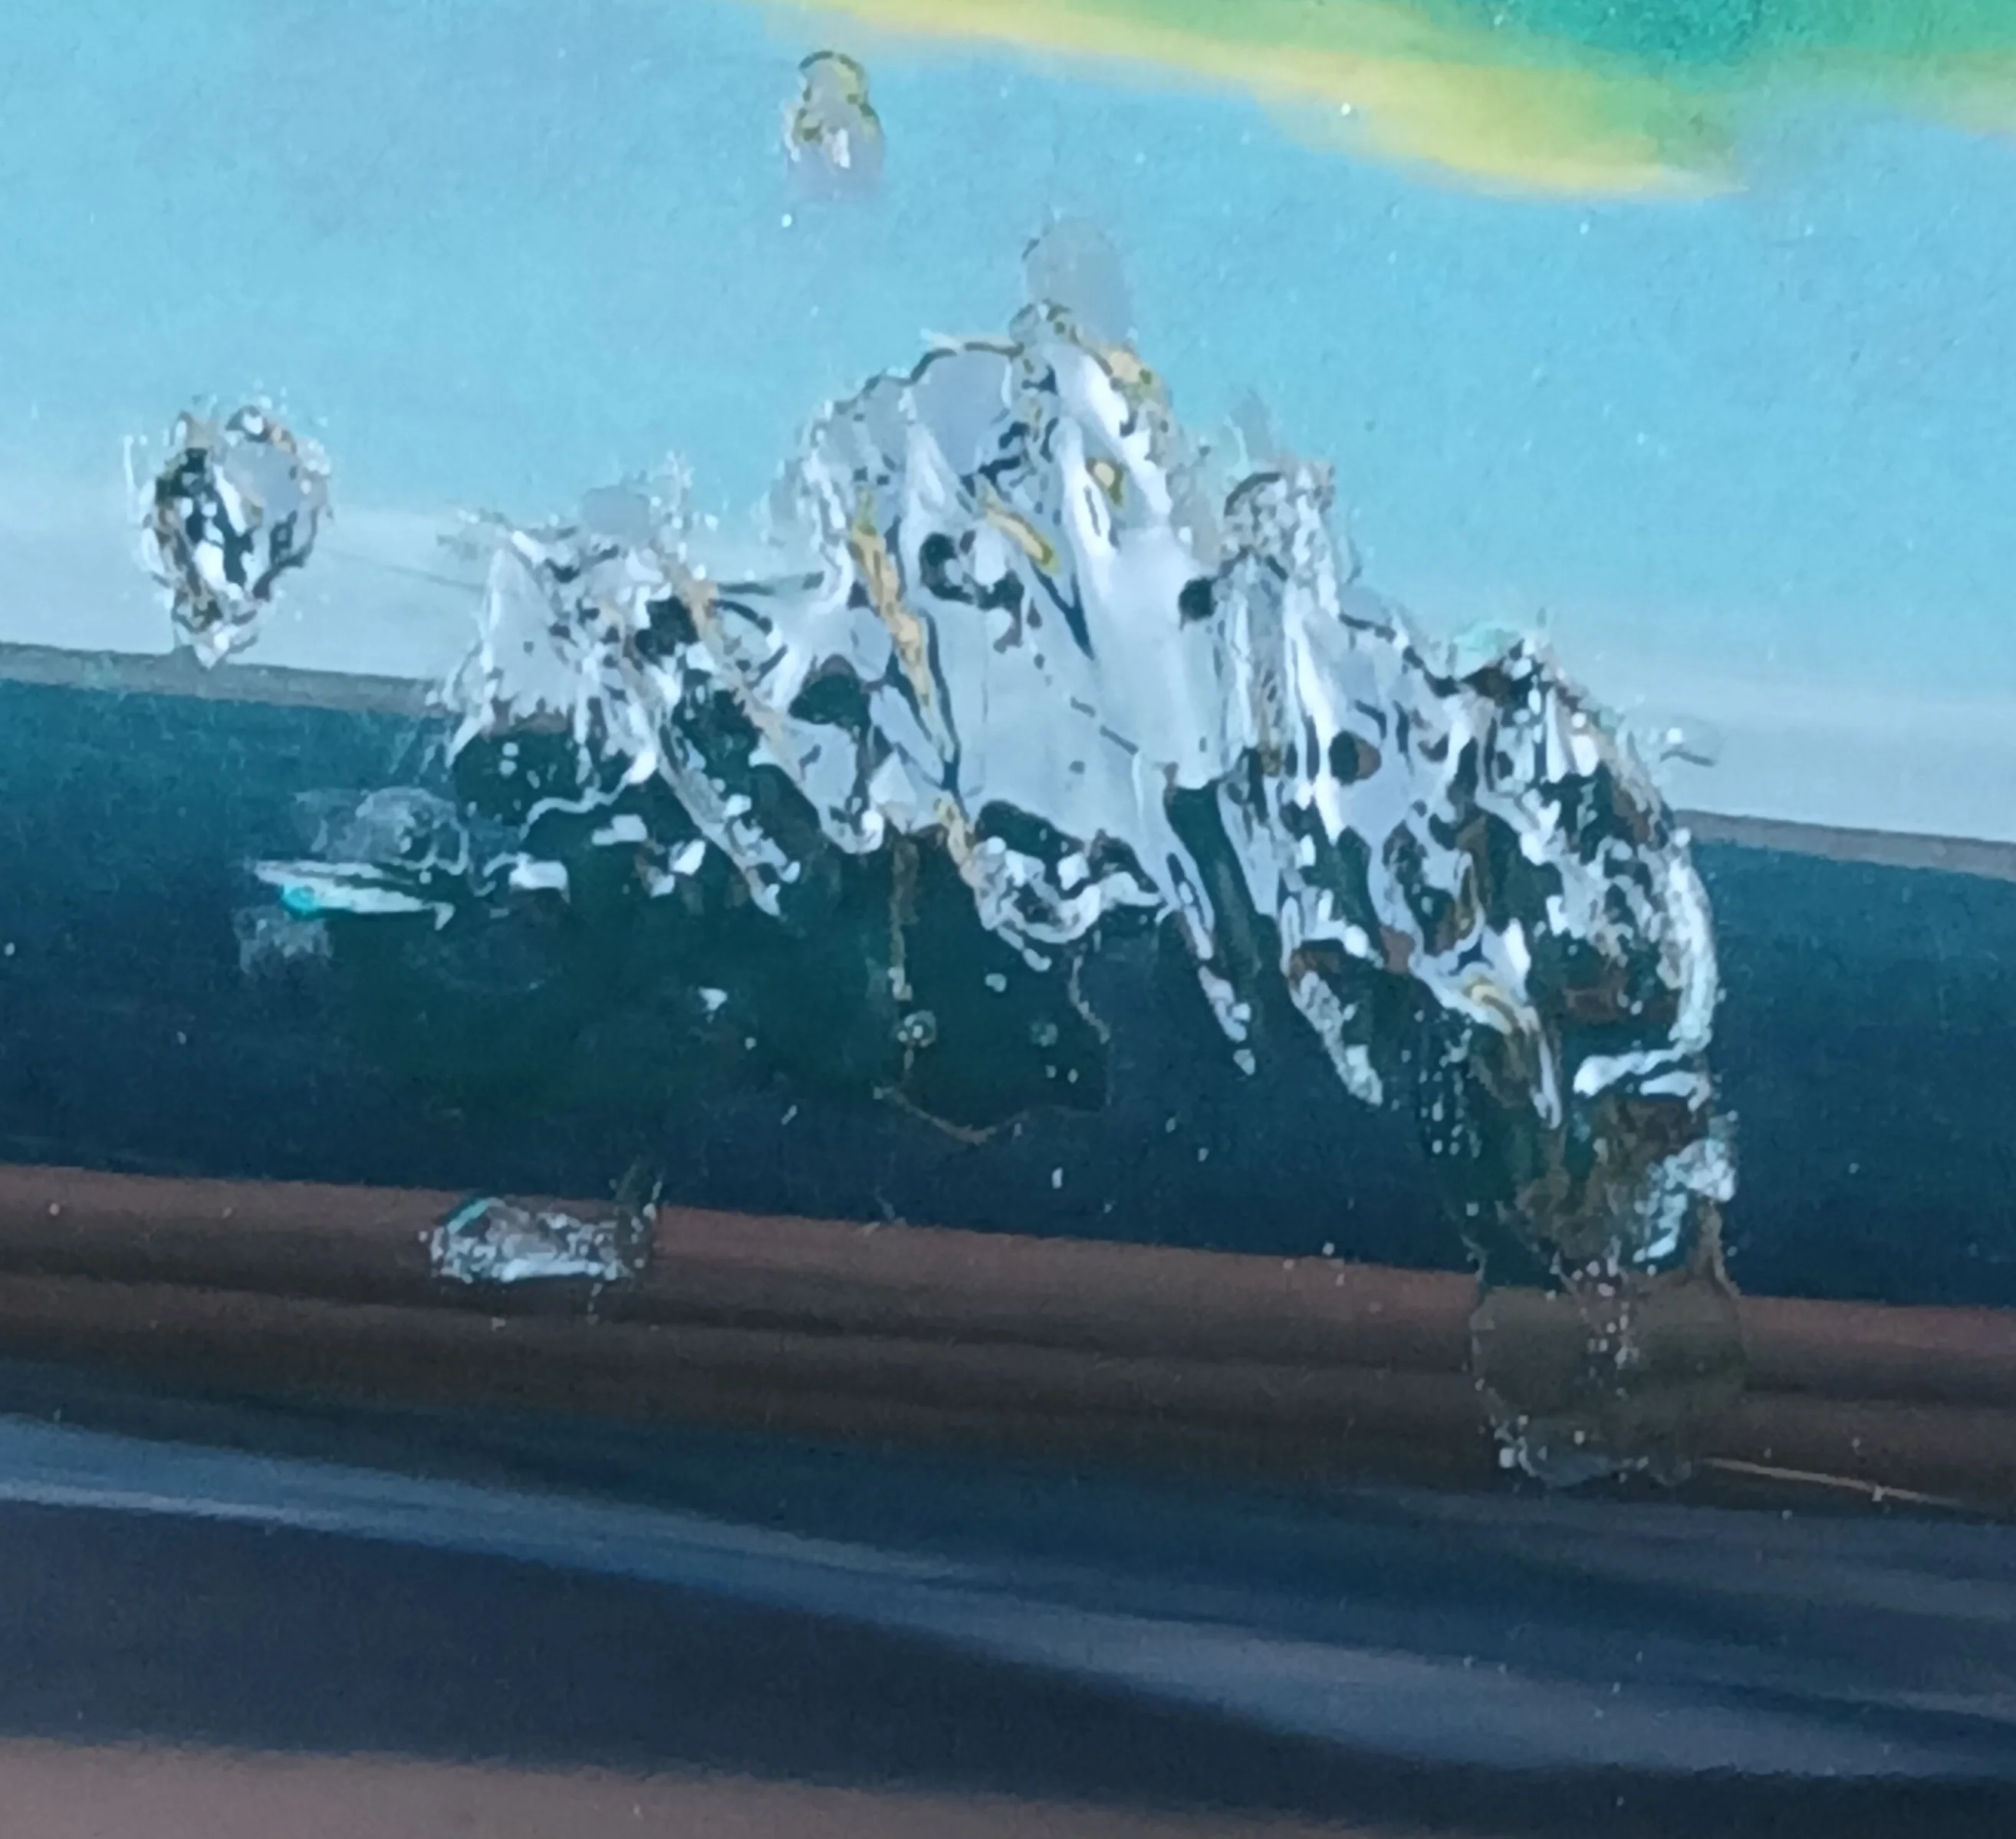
I think that is an excellent match! I'm very pleased with the colour match, if not the finish.
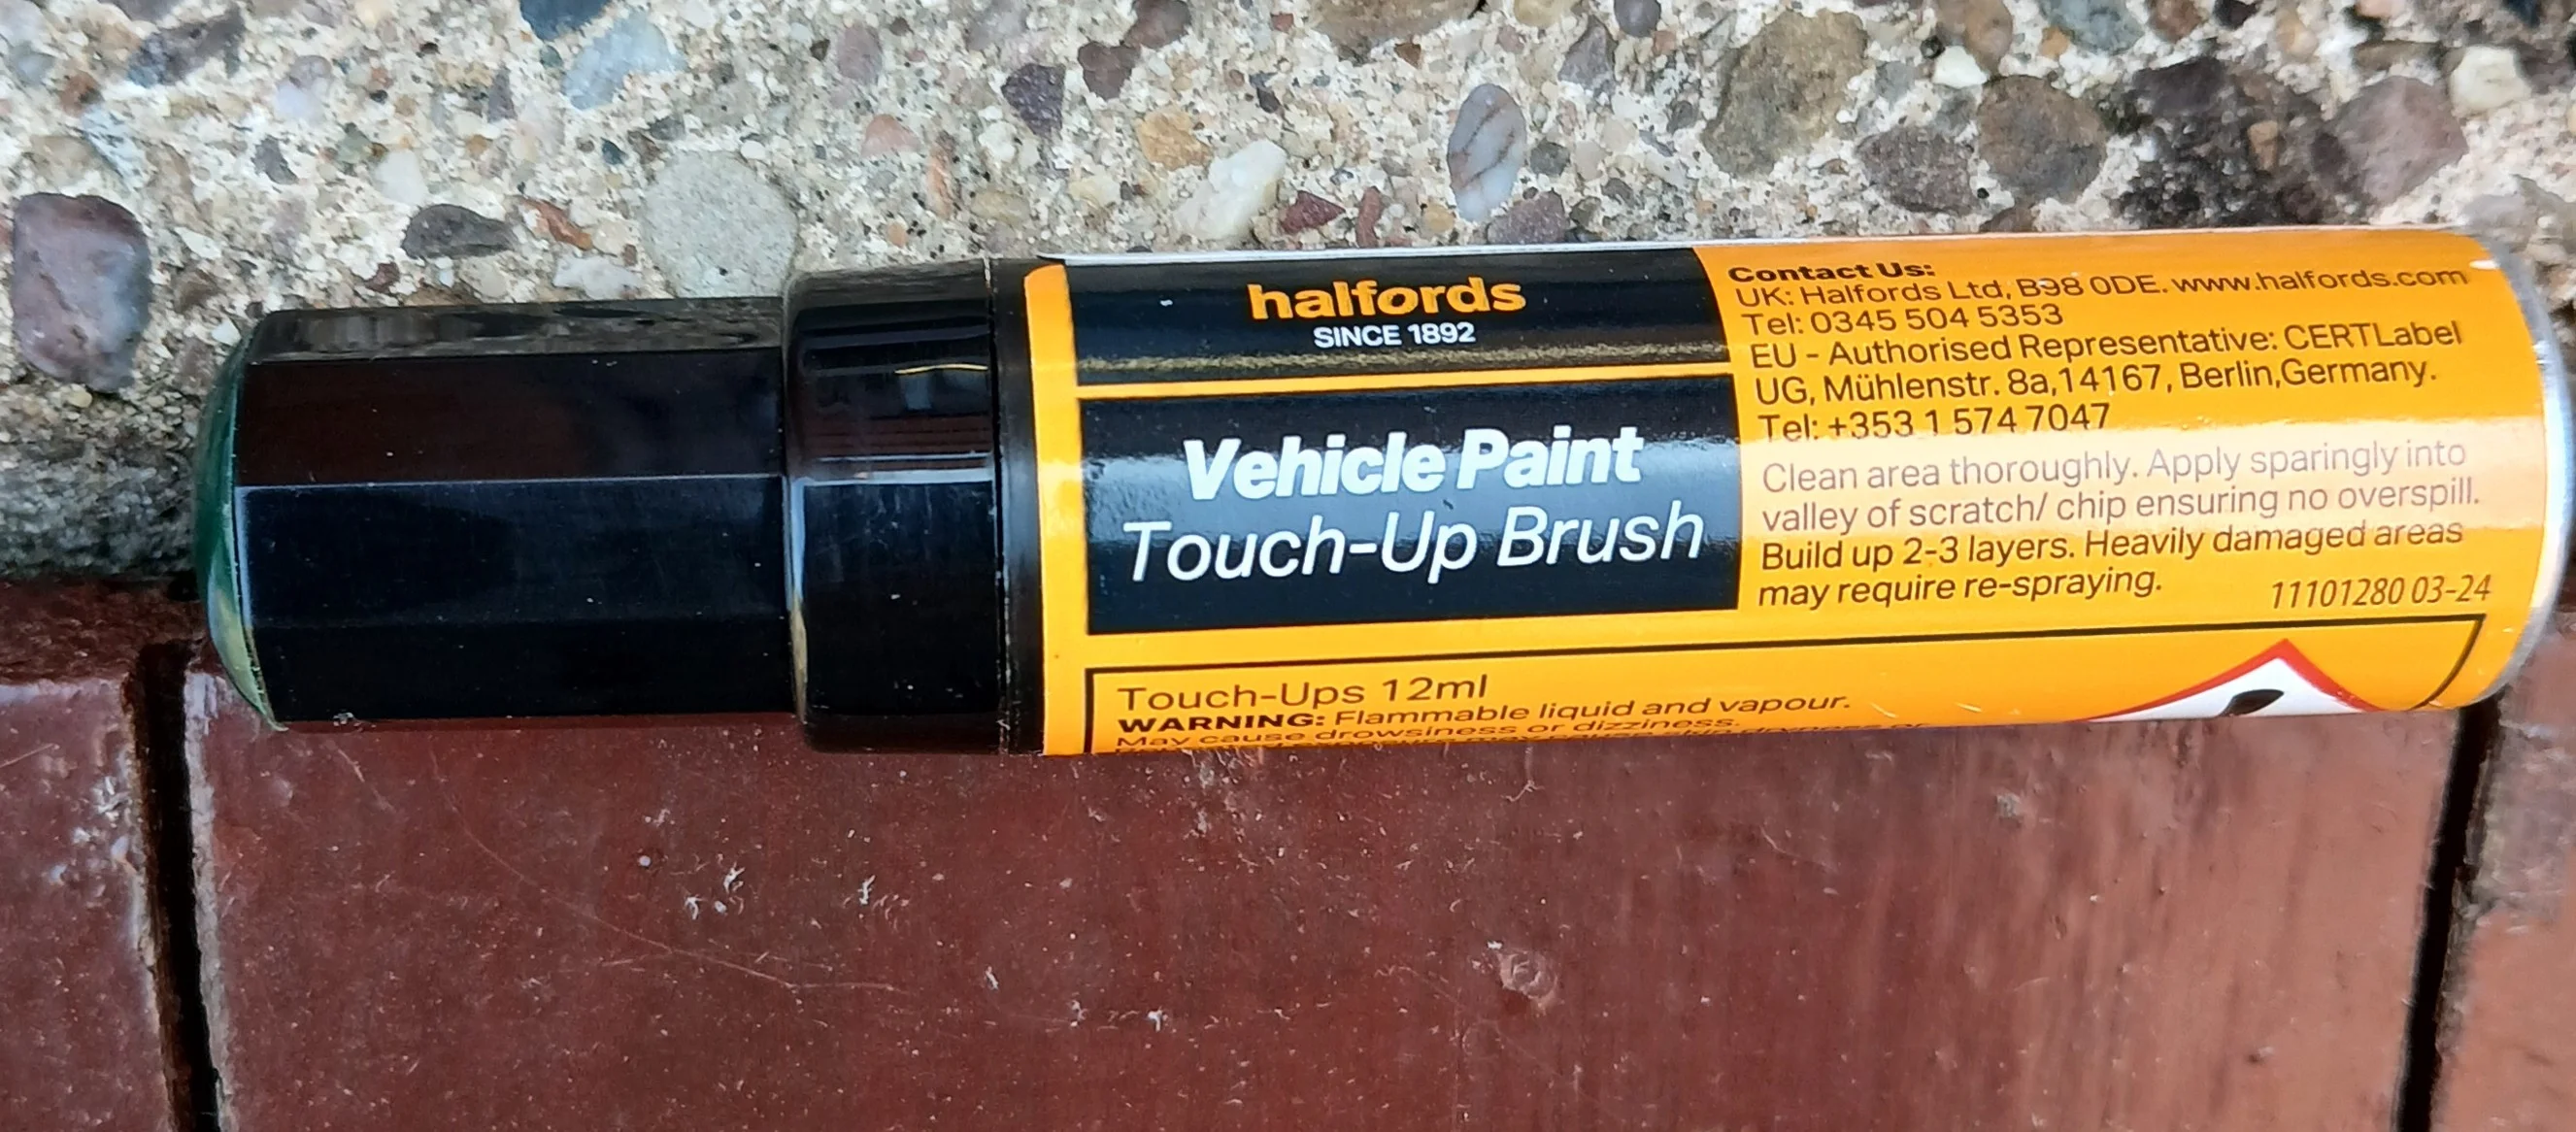
This is the Halfords paint sample:
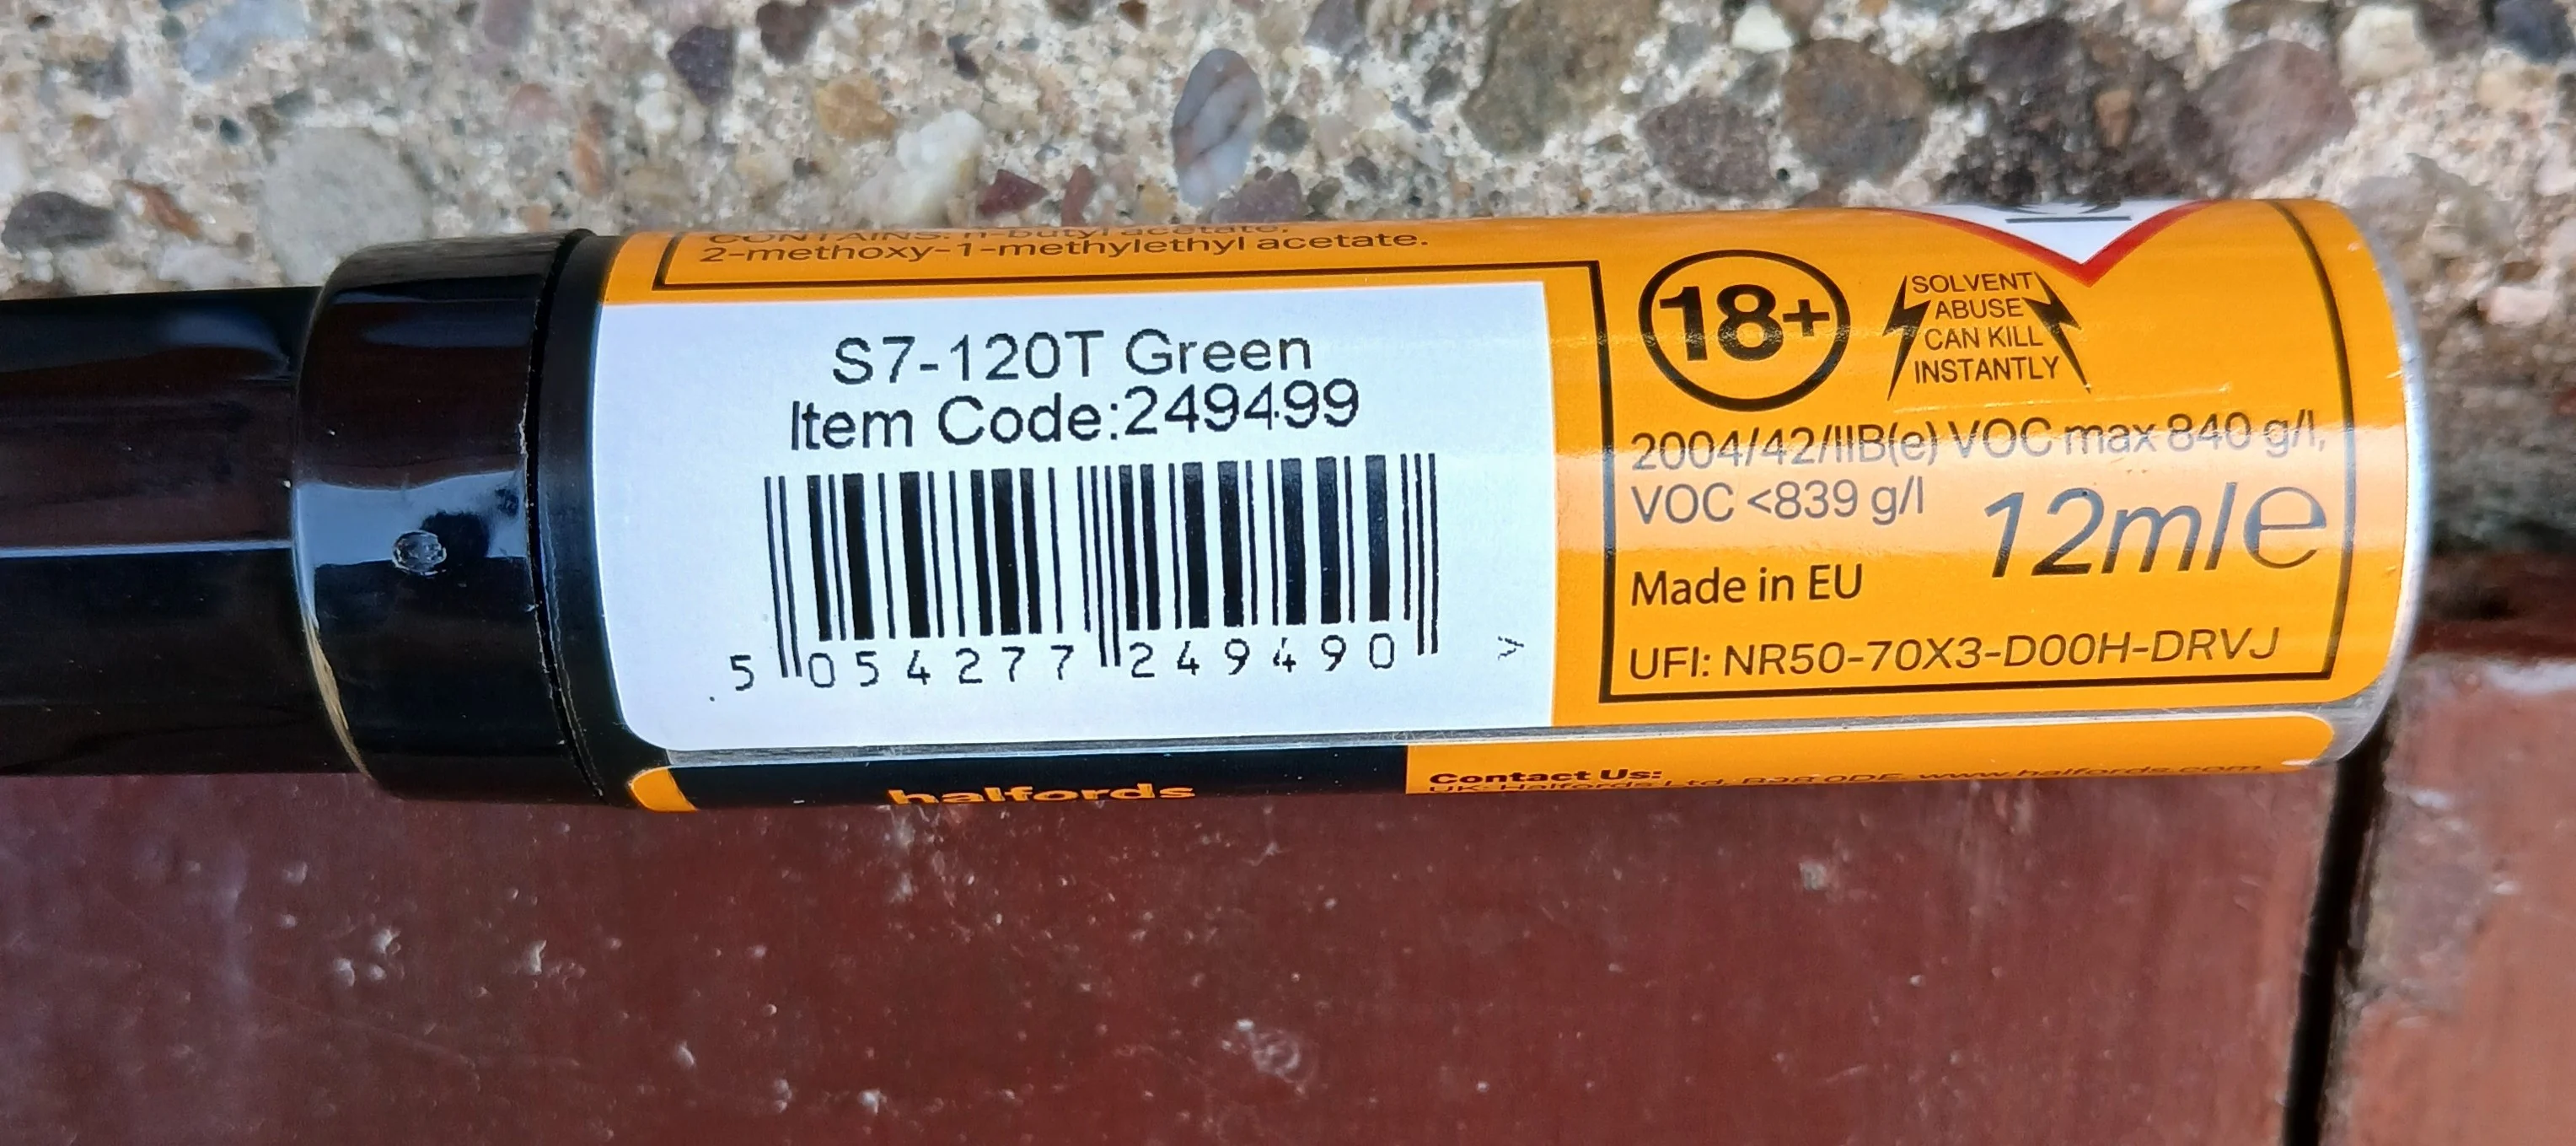
And here is the Halfords code:
When I get some more paint in there, I'm hoping it should level out and be a bit smoother, particularly if I thin with the 100% IPA. I have no desire to start with wet & dry abrasives as I'm concerned that it will just make the blemish even bigger. Once I'm done I will put some Helicopter tape on the top tube. The tape is thicker than the framewrap, so it will help to disguise the blemish, I hope!
I had it checked out and the gouge's deepest cut is in the surface resin and not into the carbon fibre matting.
I checked with Santa Cruz and they told me:
"The Pantone match for the Midnight Green on the Vala is Pantone 567 C. It won't be a perfect match, as the Vala paint is a multi-stage process, but if you're just looking to touch up some chips it should do a reasonable job. There isn't an official paint available for sale." Great (not!)
I went to the local car spares place (Halfords in the UK). I was hoping that one of the regular car manufacturers would have similar colour. Chat GPT recommended the following:
Manufacturer | Colour | Match |
| Mini | British Racing Green Metallic (Code 895 / C3B on newer models) | ★★★★★ |
| Aston Martin | Buckinghamshire Green | ★★★★★ |
| Bentley | Midnight Emerald Green | ★★★★☆ |
But Halfords did not stock paint for any of them. So it was down to the standard colours that they do provide. After three choices made by comparing a phone pic to the paint sample top cap, and a bit of back and forth, I settled on two. One looked a little bit light and the other a little bit dark. It's tricky because the gouge is on the corner of the top tube and the light is different from one end to the other of the gouge.
I had already removed the framewrap from the top tube to get a clearer view. It was a ten minute job, done on a hot day and I got it off in one piece. It looked like a snake had shed its skin. But today was the day to get some paint on! I started with the darker of the two options and hit jackpot!
It was very warm and the paint was drying faster than I could apply it, so I diluted the paint with some 100% iso-propyl-alcohol (it was all I had but it worked). I sprayed some into a wide container and then put a blob of paint into the middle of it. Then used that as my source material.
This was my first attempt. Ignore how crap it looks, it is still very rough and I haven't finished yet. I am showing you this so that you can see that the colour matches! The gouge is about 15mm wide. That yellow tinge at the top is a reflection of the next door neighbours hedge.
I think that is an excellent match! I'm very pleased with the colour match, if not the finish.
This is the Halfords paint sample:
And here is the Halfords code:
When I get some more paint in there, I'm hoping it should level out and be a bit smoother, particularly if I thin with the 100% IPA. I have no desire to start with wet & dry abrasives as I'm concerned that it will just make the blemish even bigger. Once I'm done I will put some Helicopter tape on the top tube. The tape is thicker than the framewrap, so it will help to disguise the blemish, I hope!


