Powerfly Derailleur Shimano XT M8100, long cage. . . is not positioned correctly?

Expidia

Well-known member
Subscriber
Jun 27, 2022
547
435
Capital Region, New York
Background: On 7/19/22 bought a 2022 Powerfly FS9 Equipped from a Trek store 2.5 hours west of my home. A month or two ago I tried to go tubeless. I couldn't get the bead to seat without having a compressor. Also, I unscrewed the derailleur hanger bolt and for some reason I couldn't get it back together correctly. So I rolled it into a LBS and he tried to change tires over to tubeless. The rims are TLR. After several trips back and forth due to very slow leaks the shop realized the OEM tires were not tubeless ready, so he put the tubes back in. He also said I should have not taken the right side derailleur off and he had to replace some part and I've been using it past two months after he put it back together.

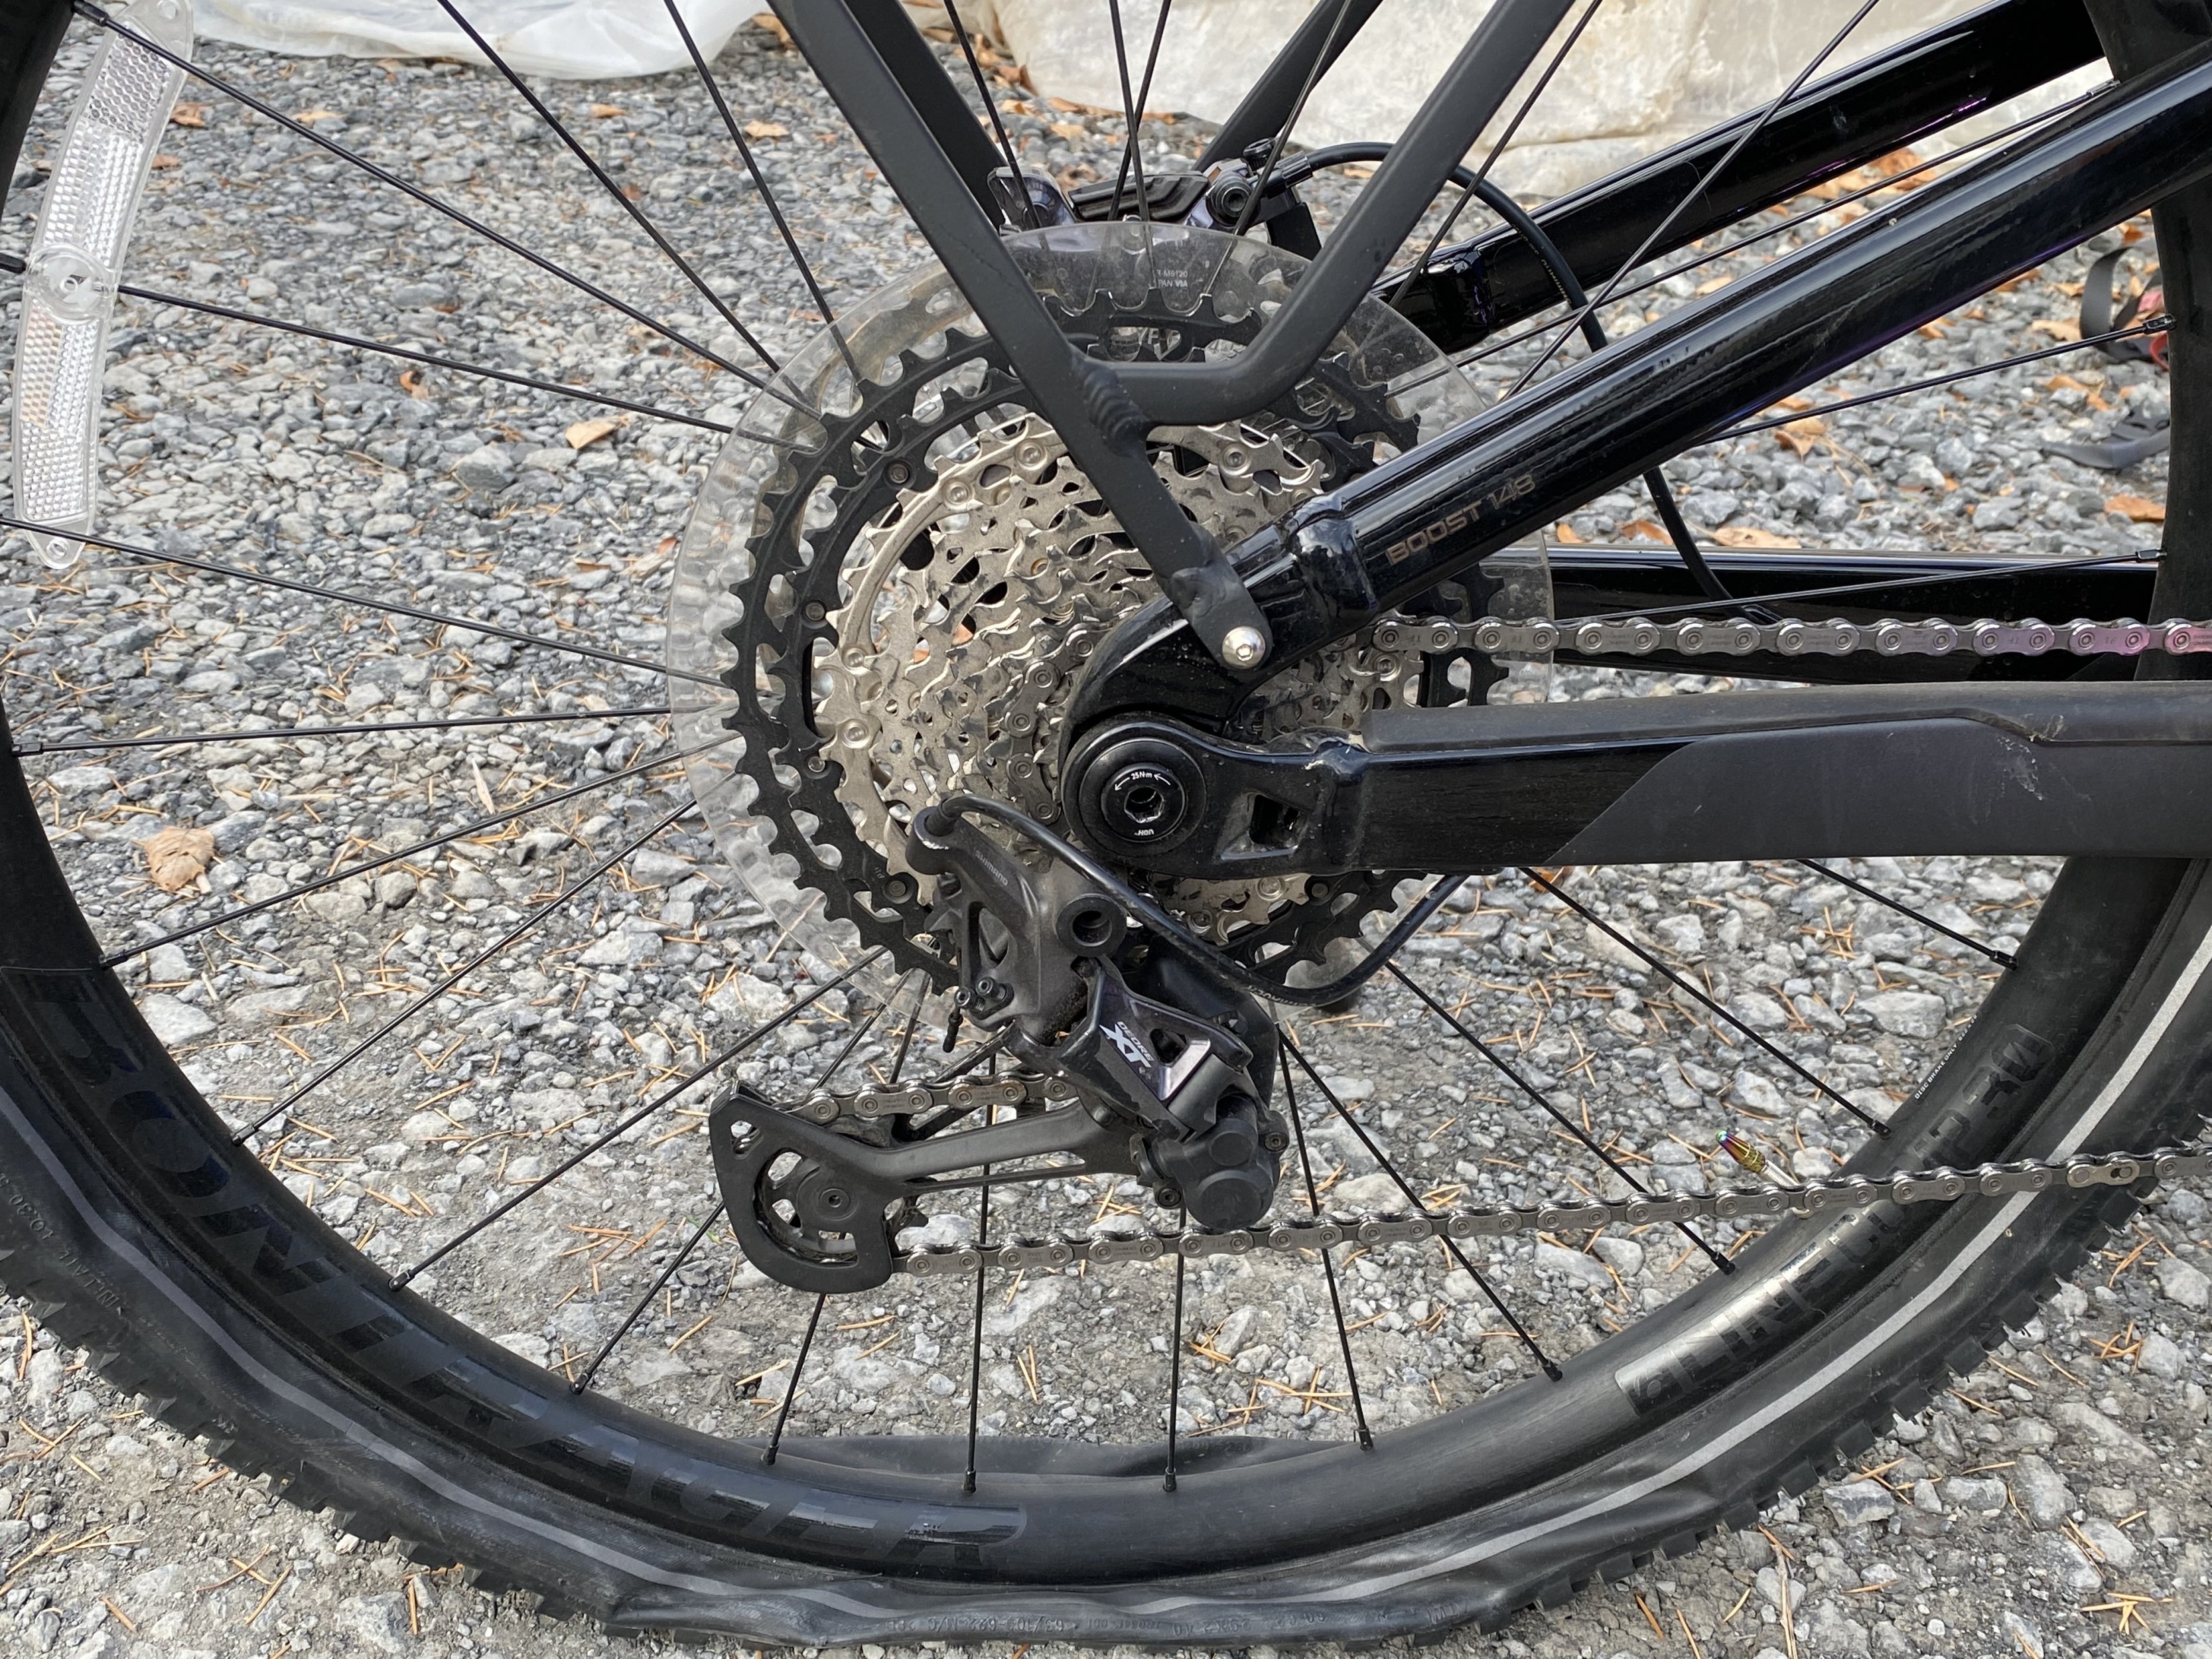
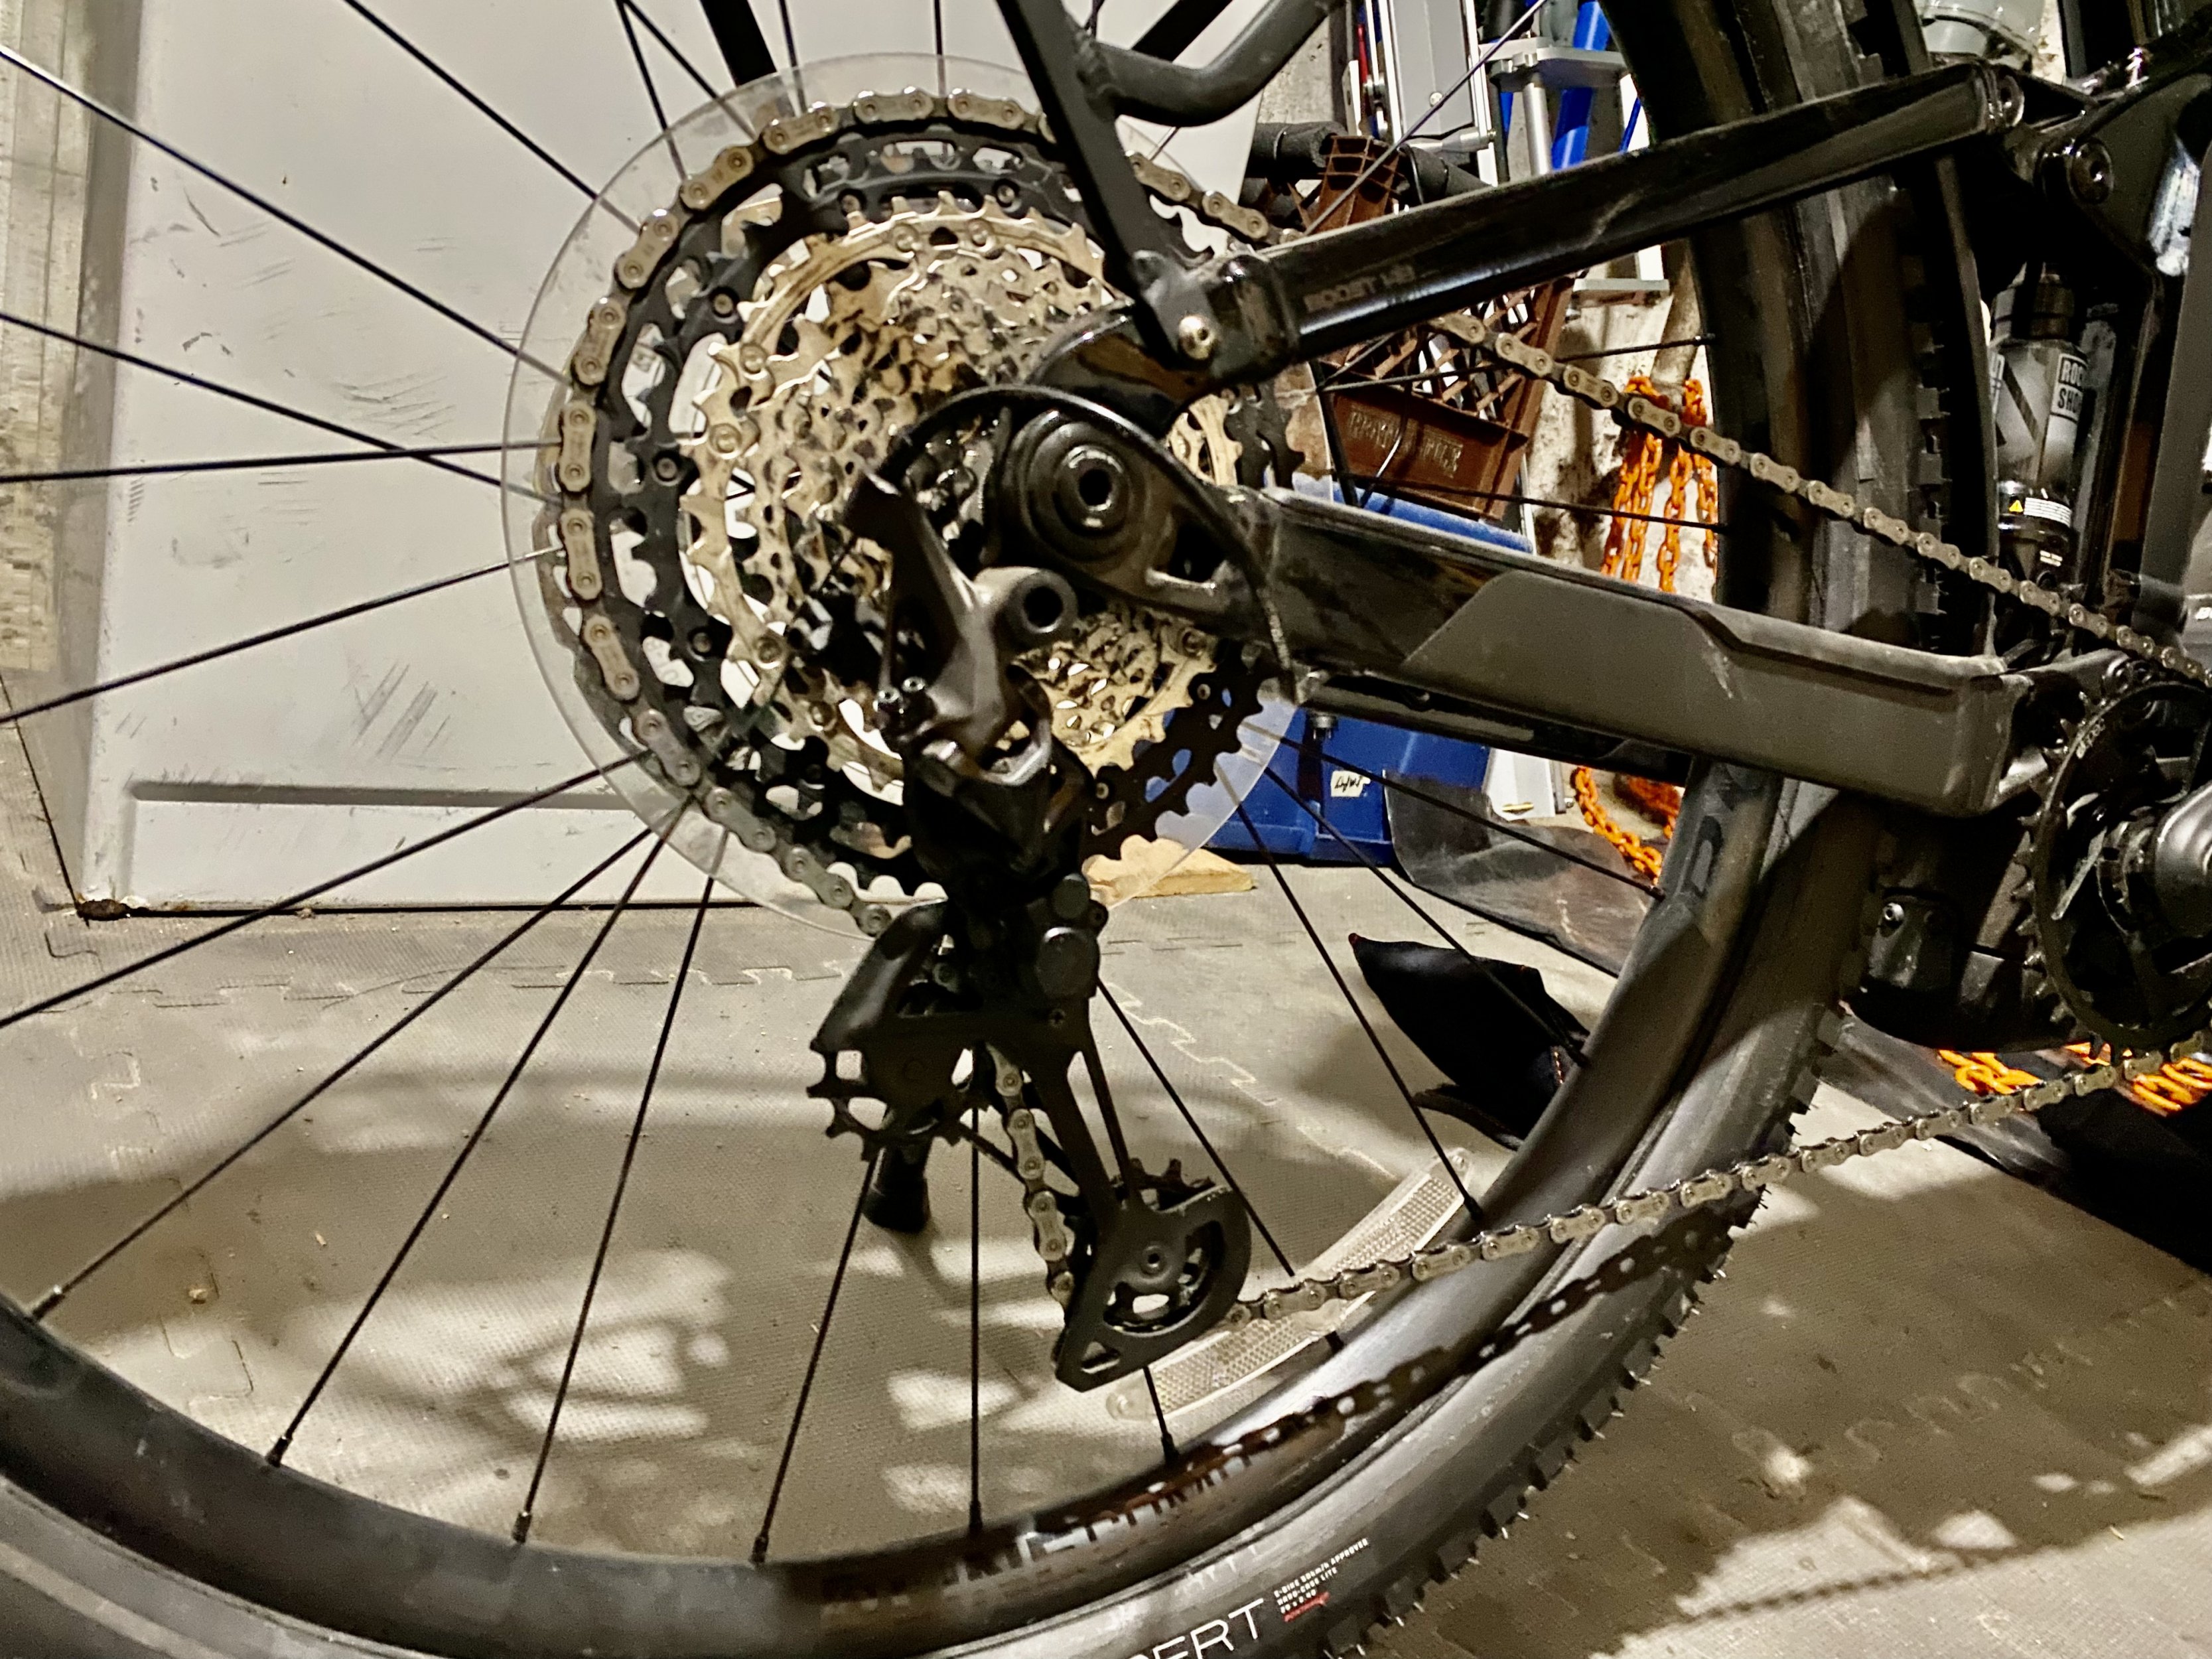
Current problem: two days ago I got a rear flat (picked up a metal shard). Before I went to change it I took two pics of the derailleur, so I wouldn't screw it up when putting the wheel back on. In looking at the pic of this model ina Powerfly ad (my screen saver 😜) the derailleur was originally around a 7:35 o'clock position. Now I look at the two pics I took before I fixed the flat from how this LBS had the derailleur positioned which is now almost straight back more like a 7:45 o'clock position. I think the clutch is locked, I'll check it in the AM as I'm not near the bike right now. But in the position they left it the bottom of the chain is not as big a space from the frame as it used to be.

One other note: the hub axle bolt has a handle type cap on it (I could not get that cap off) I thought this cap could be pulled off to remove the front axle too (maybe I'm just confused as I also have a Giant with this feature). But now when I put the wheel back on . . . the handle was facing forward and now it's facing backwards. I know this because I had to remove the kickstand just to get this handle to spin and and then pulled out the axle. Now it is facing to the rear of the bike?

Before I take it to an actually Trek dealer 1/2 hour north of me, I figured most here will know what is wrong just by looking at the pics below.
Thanks for help in resolving as to why that shop had the derailluer in what appears to me to be in the wrong position.
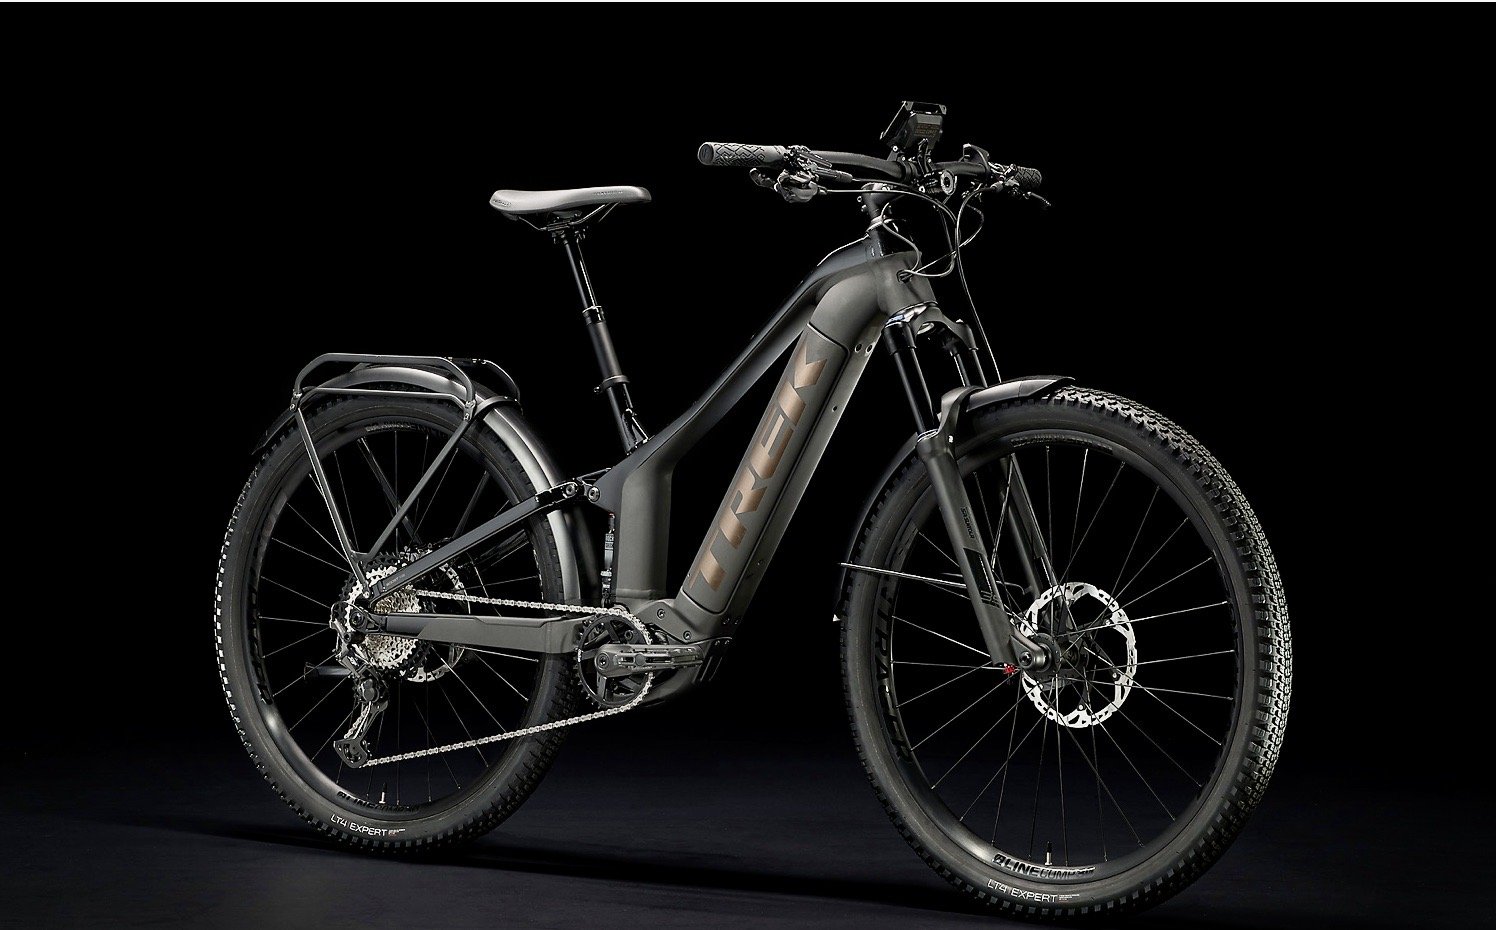
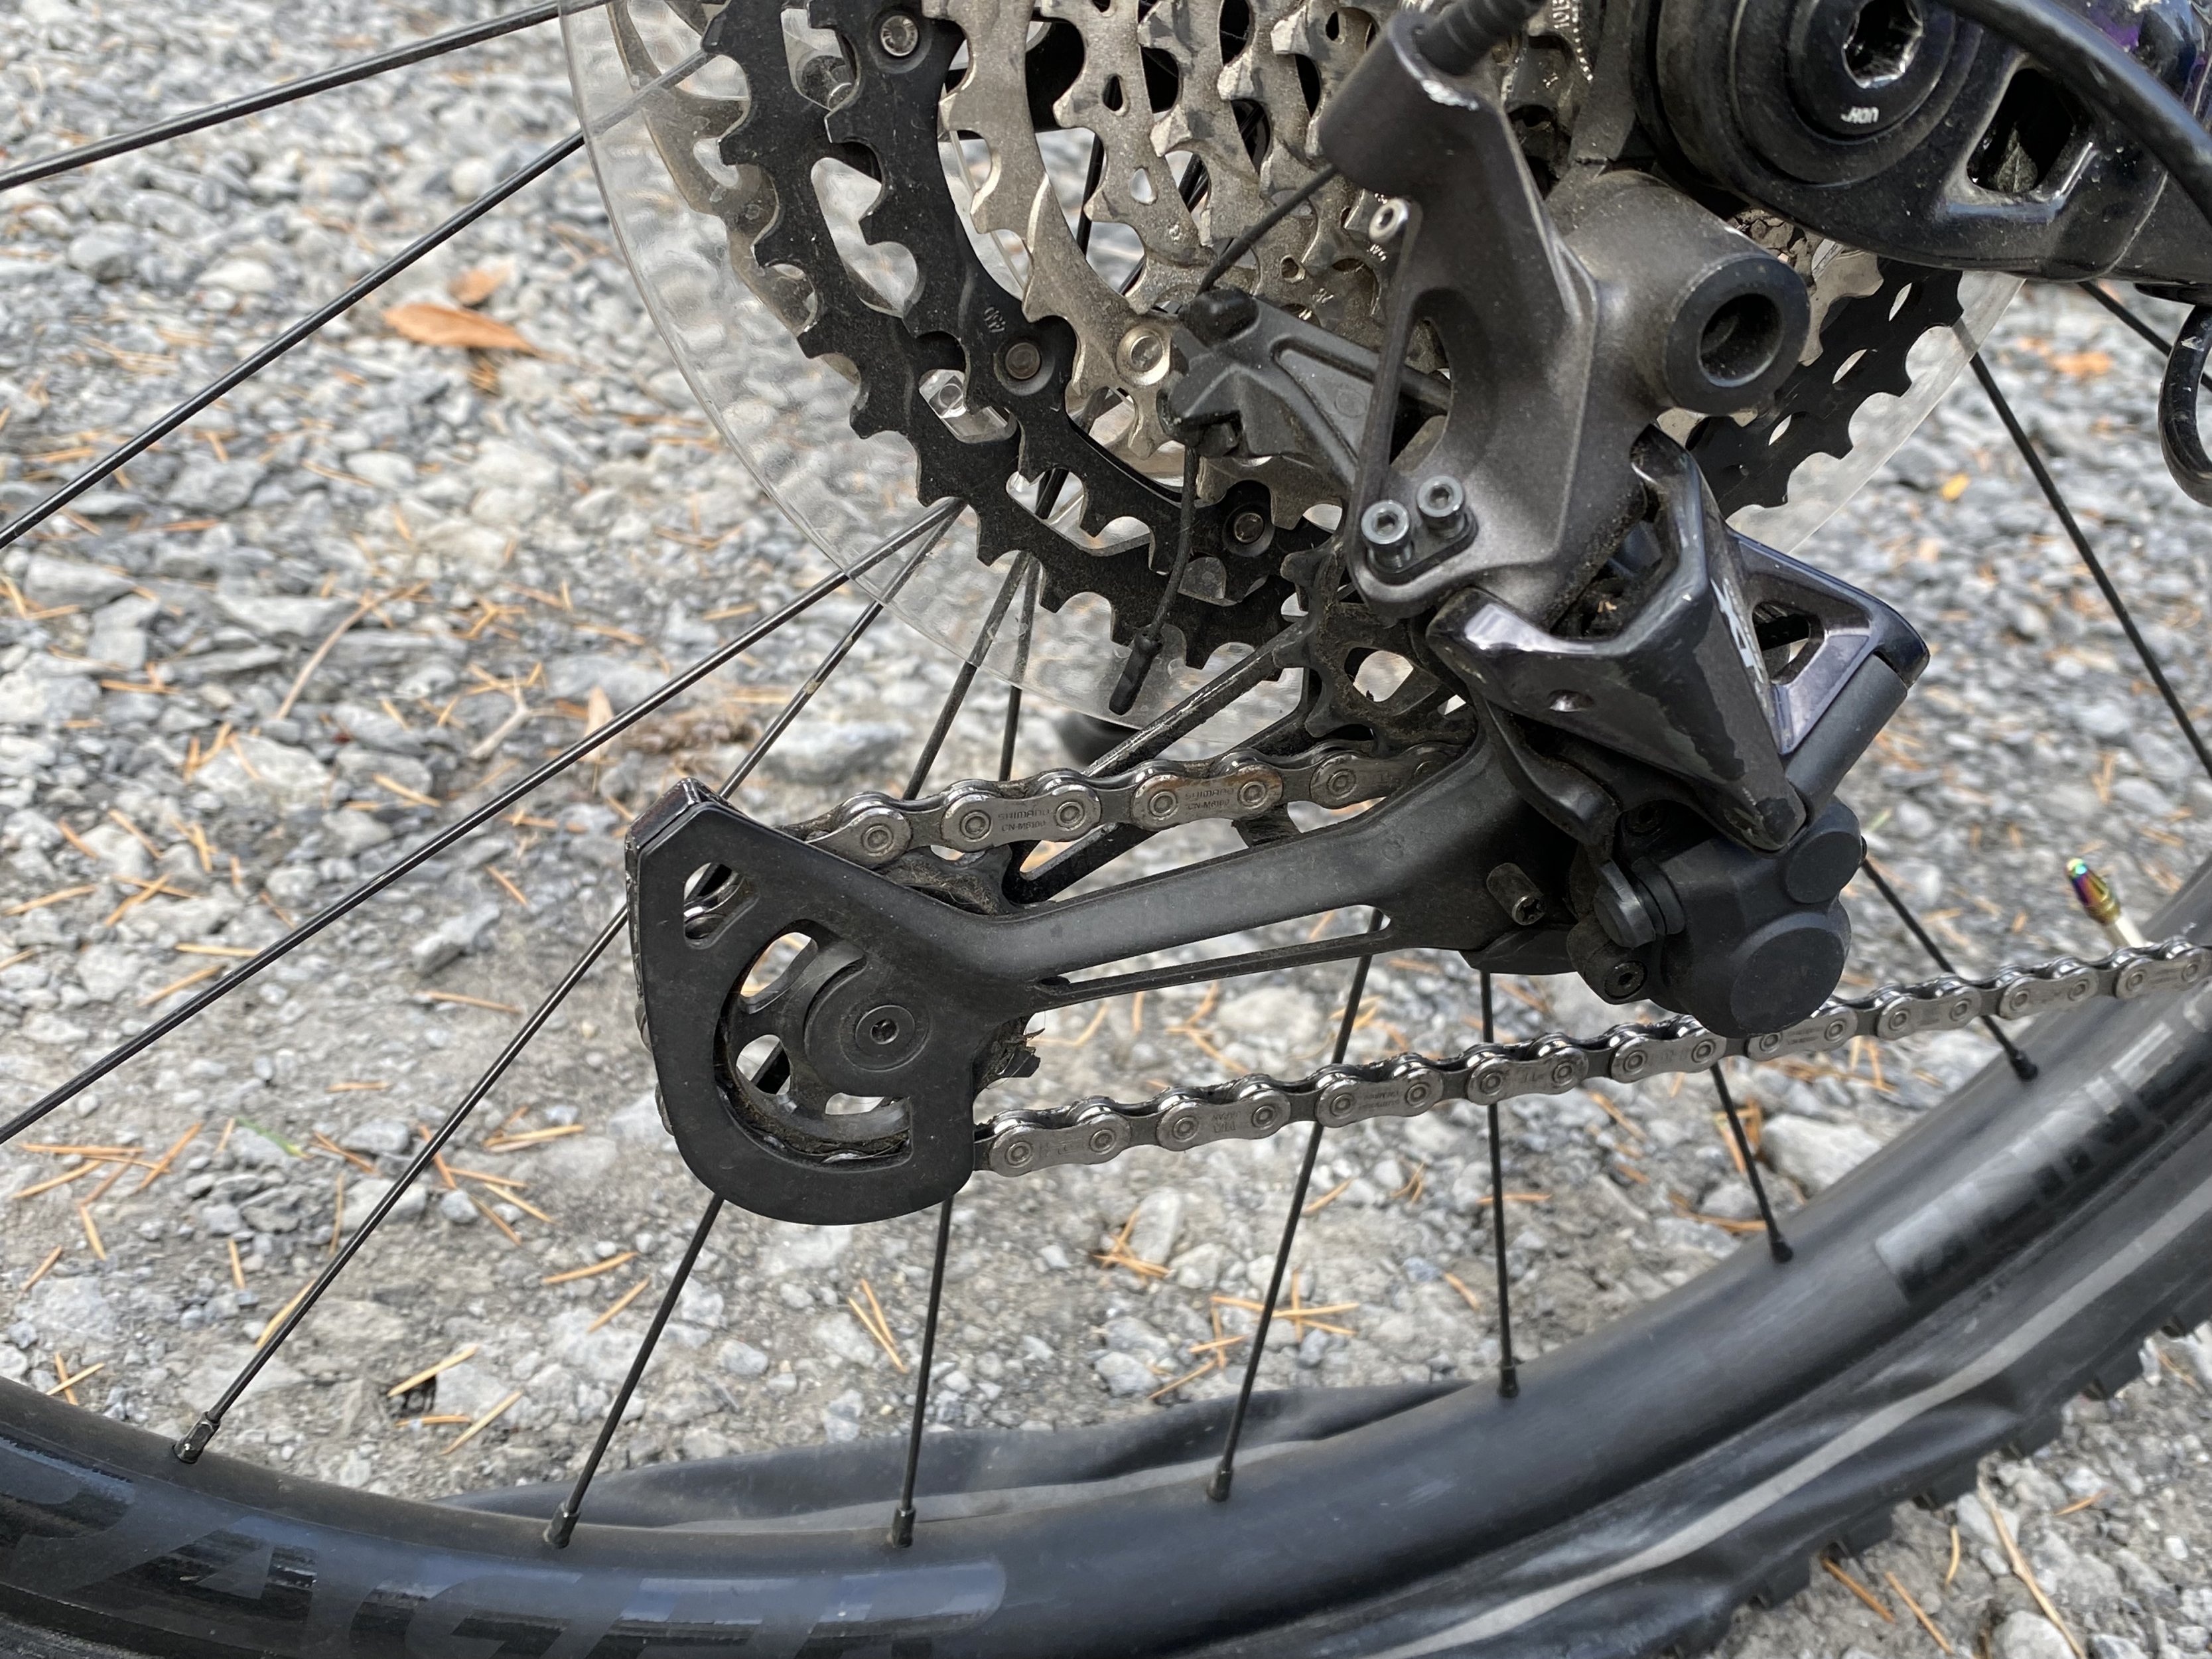
Screen Shot 2022-07-20 at 1.39.39 PM.jpeg IMG_7395.jpeg IMG_7394.jpeg
 
Last edited:

Expidia

Well-known member
Subscriber
Jun 27, 2022
547
435
Capital Region, New York
Update: I had a chance to go and look at the derailleur set up again as to it's position. I answered all my own questions!

. 1 the clutch actually was not in a locked position (which is up on the XT system, down is unlocked - open for pulling off wheel). I had it unlocked when I changed the flat and never put it back to the locked position.

. 2 the position of the derailleur "does" change depending on the size of the rear cog the chain is on. I never knew the lower cog of the derailleur postion keeps changing. I've never looked at it while I'm riding! I moved the chain to the largeest sprocket and now the derailleur has moved in the opposite direction from where it was.

.3 The rear axle handle "does" pull off. I actually like it better pointing to the rear as it is less likely to catch a twig or branch pointing to the rear.

Thanks for looking at my newbie questions earlier.

IMG_7443.jpeg
 
Last edited:

irie

E*POWAH Elite World Champion
Subscriber
May 2, 2022
2,004
1,950
Chichester, W.Sussex, UK
Was going to say that it all looks OK, and the clutch is 'on' when the lower centre of the chain is hardest to pull up. IYSWIM

Edit: ps - the rear axle handle comes off so you can also use it for the front wheel.
 
Last edited:

Expidia

Well-known member
Subscriber
Jun 27, 2022
547
435
Capital Region, New York
Was going to say that it all looks OK, and the clutch is 'on' when the lower centre of the chain is hardest to pull up. IYSWIM
Thanks Irie, I'm learning stuff all the time 👍🏻
In fact, when I went to pump up the tire after putting on the patch it wouldn't hold air. I even felt all around the inside of the tire to make sure there was nothing still imbedded in the tire. I found out the next morning after pulling the tube out again . . . . the metal shard that I pulled out had made "two" holes.

I'll go tubeless after the OEM tires wear out. But tubeless or sealant would have not stopped this 2.5 inch strip of metal.
 
Last edited:

irie

E*POWAH Elite World Champion
Subscriber
May 2, 2022
2,004
1,950
Chichester, W.Sussex, UK
Thanks Irie, I'm learning stuff all the time 👍🏻
In fact, when I went to pump up the tire after putting on the patch it wouldn't hold air. I even felt all around the inside of the tire to make sure there was nothing still imbedded in the tire. I found out the next morning after pulling the tube out again . . . . the metal shard that I pulled out had made "two" holes.

I'll go tubeless after thee OEM tires where out. But tubeless or sealant would have not stopped this 2.5 inch strip of metal.
Yeah, I often do stuff then think why the fuck didn't that work? Like the first time I serviced a shock and it wouldn't hold air. Turns out that I'd forgotten to reinstall a seal which on dissambly had somehow slipped to one side. Rebuilt the shock twice before clearing up ... when I then discovered the missing seal
Doh2.gif
 

steve_sordy

Wedding Crasher
Nov 5, 2018
8,390
8,620
Lincolnshire, UK
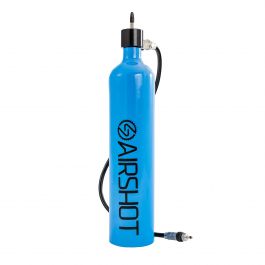
Even if the tyre is not tubeless ready you should still be able to go tubeless. Make sure that you use plenty of soapy water to ease the bead into place. Try to use something that "explodes" the wheel into place (like an Airshot for example). If you use a compressor it has to be high volume and not high pressure, or has a large reservoir. I tried using a compressor at the local garage but despite it being suitable for truck tyres it was no good for me as the air flow was too low.
Whichever sealant you use I strongly recommend a latex-based one. The latex sealants do a better job of sealing the carcass than the otherwise excellent non-latex sealants.

One trick is to use the tube to get the tyre on, then undo one side to remove the tube, change the valve, add sealant and to complete the job. Having only one side of the tyre to lock on reduces the leaks by half that the pump has to deal with.

Once the tyre is on inflate to 50psi or so until the beads have finished banging as they pop into place. Once both sides are on, check that the tyre beads are properly engaged (examine the lines next to the rim, they should be parallel, if not reduce pressure a lot and move the tyre walls manually). Once you are happy, inflate to 30psi or so and give the wheel a bloody good shake in various directions to distribute the sealant, then lay the wheel flat. I use a bucket, but plant pots will work as well. Leave the wheel for half an hour then flip, shake and replace on the plant pot. All this is to allow the sealant to be forced into the micro holes in the tyre walls by air pressure. You may have a gradual air loss for a week or so as the tyre walls slowly seal, but all will be well thereafter.
 
Last edited:

Expidia

Well-known member
Subscriber
Jun 27, 2022
547
435
Capital Region, New York
@steve_sordy Thx Steve, I can always count on you for your great posts. I copied your notes and put it under "Flats" in my iphone notes.
When I got this last flat I only broke down one side and pulled the tube. Which was a mucked up with Muc-Off because after the LBS could get the non TLR tire to stop leaking . . . I said put the tubes back in. So he stuck the tubes in without washing off the Muc-Off. When I went to patch the tube it was a mess as I had misplaced alcohol wipes that were supposed to be in my emergency kit or sand paper. I had to scrape the tube with my knife. Then after I started pumping it up again it would not hold air 😱. I did first put in the spare tube but it was a cheapo Goodyear from Amazon and the valve was bad and worse not removable! So I was in a higher crime section of town and I called my wife to come down with the SUV asap and get me outta here!

Next morning I took tube out and it had a second hole of course. I would have found that out when I was at the spot by pulling the tube out again and checking it but I had pulled off to where some contractors were working (so I would not get bike mugged) and they were throwing me out as they were closing their gate, so I called the wife.

As to one of your points about the examining the lines around the rim . . . that was exactly my problem when I tried to install the Goodyear tube again in the AM. The one side the bead was never broken so that was even all around. But the broken side I could not manually get the bead back in place after inflating. I let the air out again and still uneven. My issue is I love the tread pattern on these Bontrager LT4 Expert Reflective but they are not TLR. They are non foldable wire beaded tires. Even the LBS could not get them to seat and not ooze air for two days. I know you said it may be slow to seal, but I have sometimes have to pass through some bad inner city areas to get to the trails I'm heading too which most are only 3 miles from my house and I can't take a chance on losing air at a bad area. The other issue I found when I tried going tubeless the first time around is these Bontrager Line Comp 30, Tubeless Ready rims have this fine lip on the inner side of the bead channel (pictured) that hampers the bead from popping in correctly.

So I finally said screw it and took it to my Trek LBS and he installed an $11 tube and charged me $16 to install using his high volume compressor.

These
@steve_sordy Thx Steve, I can always count on you for your great posts. I copied your notes and put it under "Flats" in my iphone notes.
When I got this last flat I only broke down one side and pulled the tube. Which was a mucked up with Muc-Off because after the LBS could get the non TLR tire to stop leaking . . . I said put the tubes back in. So he stuck the tubes in without washing off the Muc-Off. When I went to patch the tube it was a mess as I had misplaced alcohol wipes that were supposed to be in my emergency kit or sand paper. I had to scrape the tube with my knife. Then after I started pumping it up again it would not hold air 😱. I did first put in the spare tube but it was a cheapo Goodyear from Amazon and the valve was bad and worse not removable! So I was in a higher crime section of town and I called my wife to come down with the SUV asap and get me outta here!

Next morning I took tube out and it had a second hole of course. I would have found that out when I was at the spot by pulling the tube out again and checking it but I had pulled off to where some contractors were working (so I would not get bike mugged) and they were throwing me out as they were closing their gate, so I called the wife.

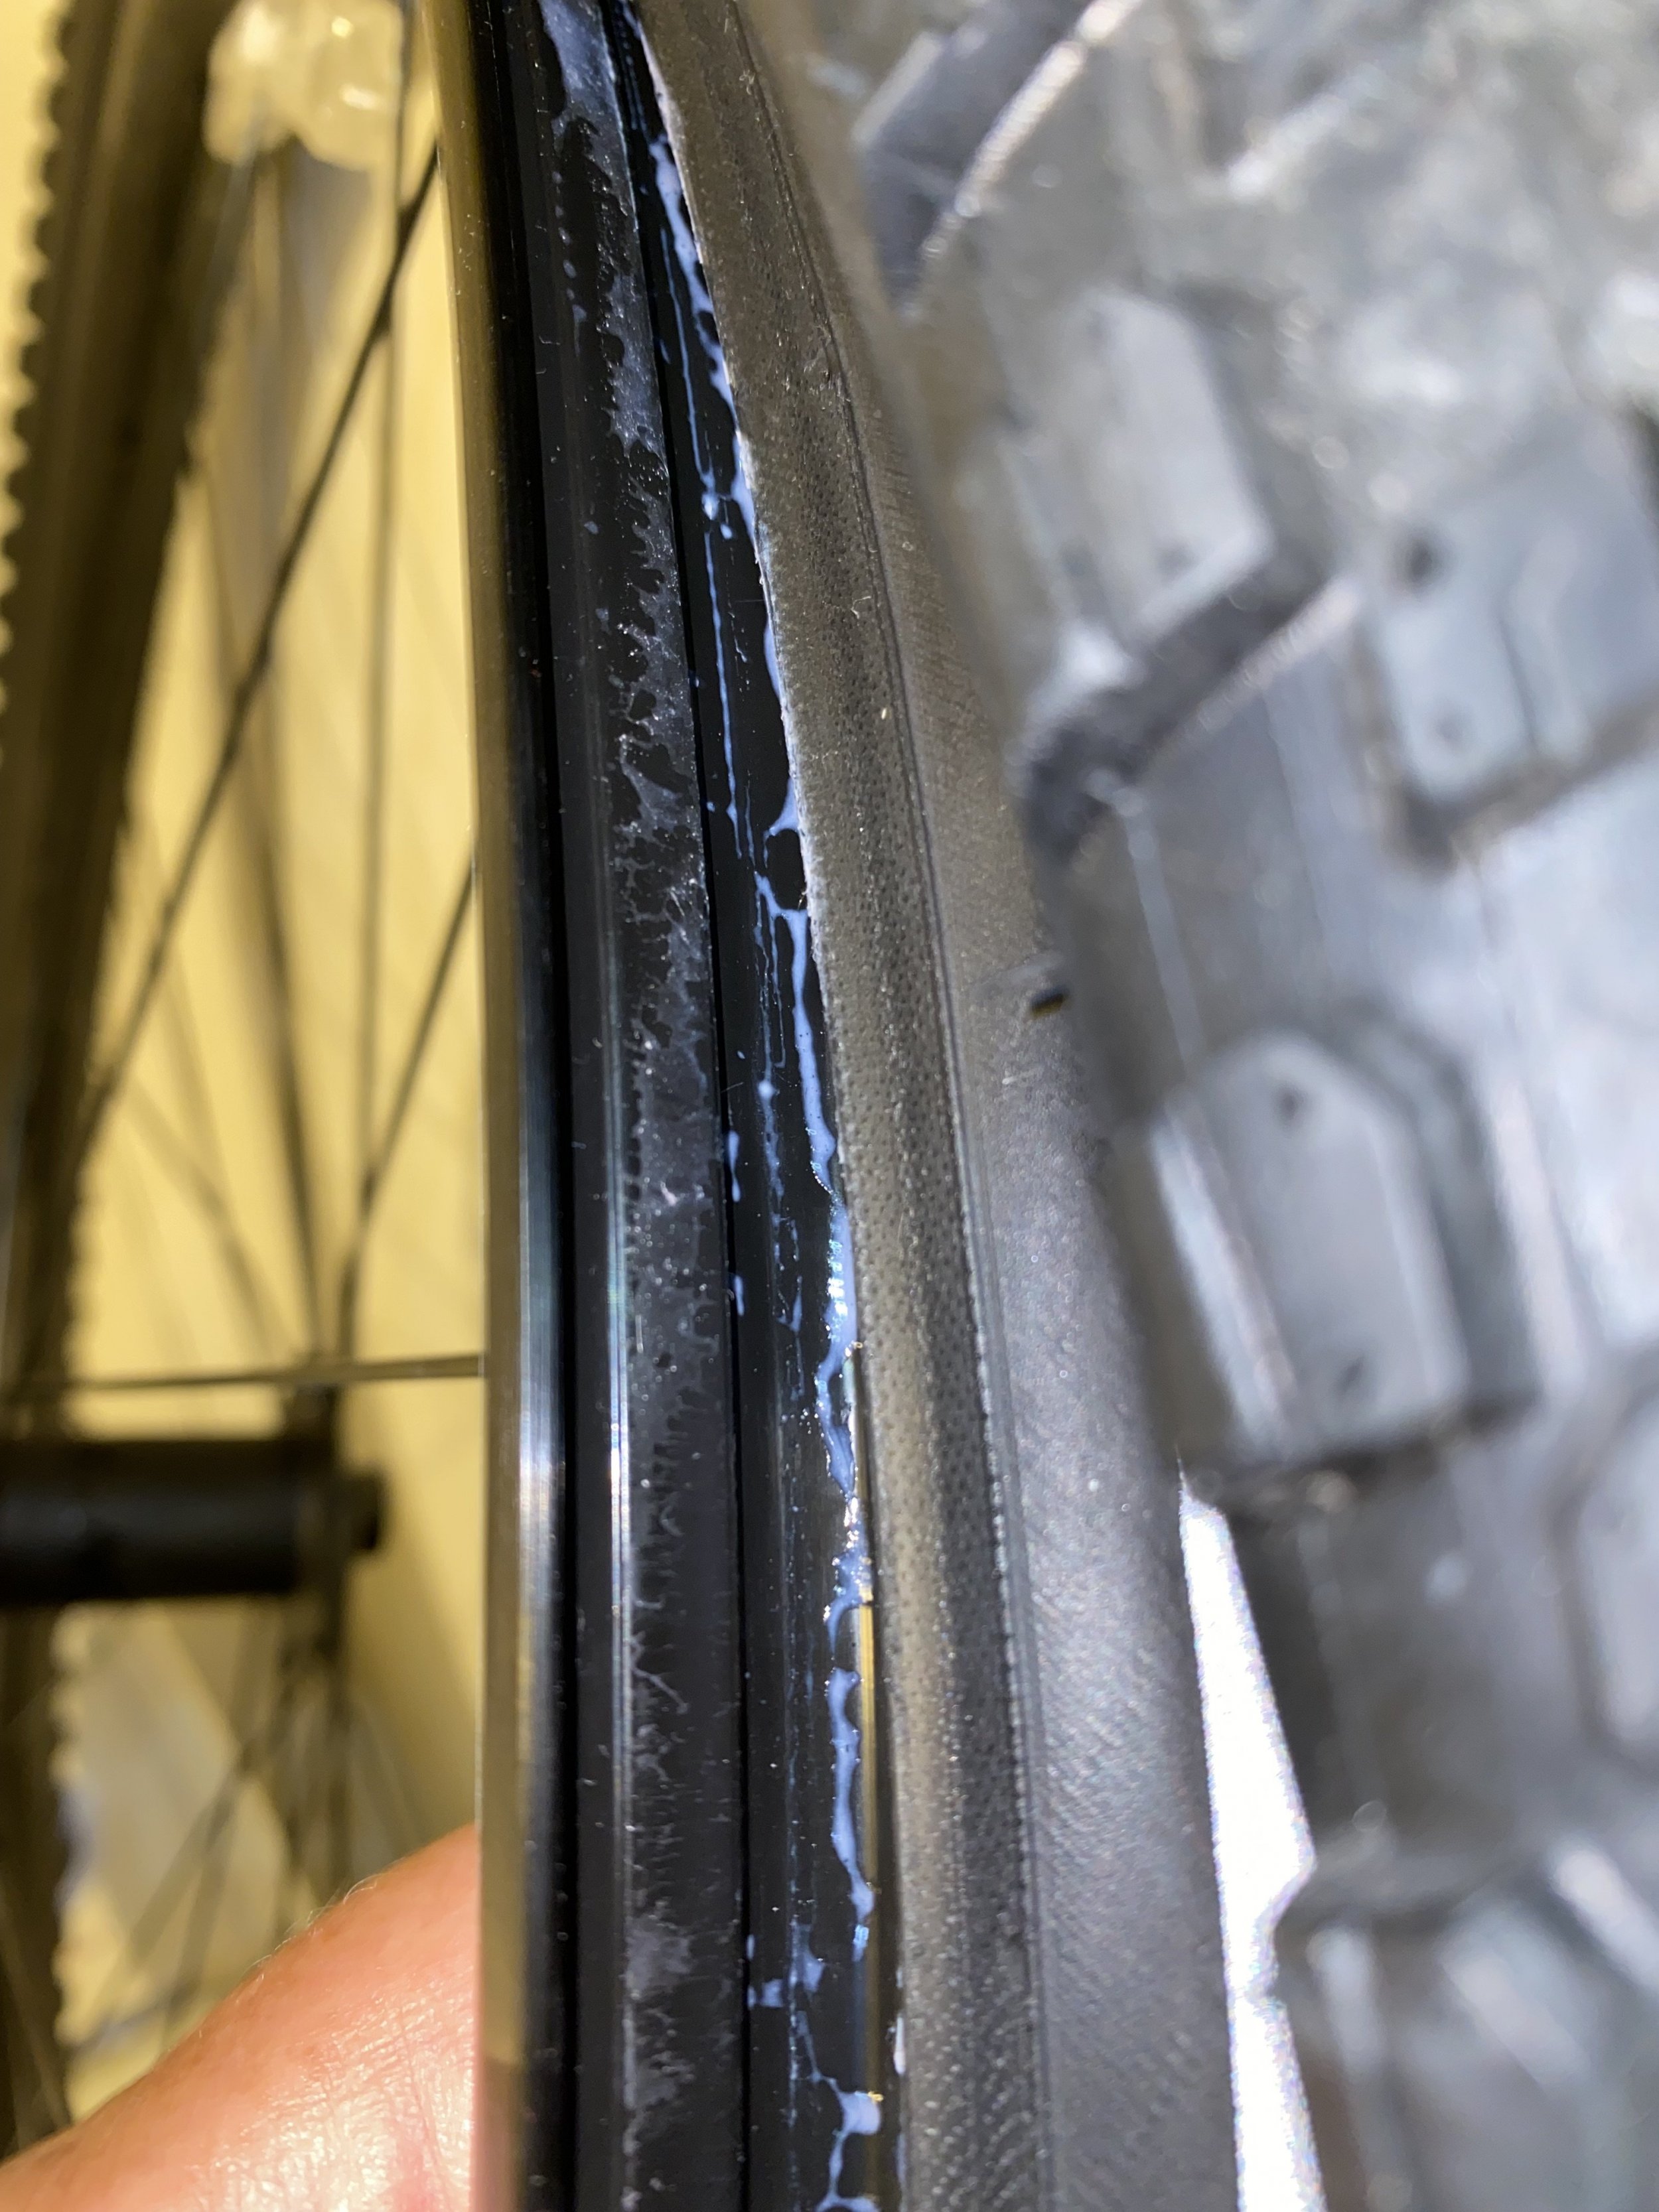
As to one of your points about the examining the lines around the rim . . . that was exactly my problem when I tried to install the Goodyear tube again in the AM. The one side the bead was never broken so that was even all around. But the broken side I could not manually get the bead back in place after inflating. I let the air out again and still uneven. My issue is I love the tread pattern on these Bontrager LT4 Expert Reflective but they are not TLR. They are non foldable wire beaded tires. Even the LBS could not get them to seat and not ooze air for two days. I know you said it may be slow to seal, but I have sometimes have to pass through some bad inner city areas to get to the trails I'm heading too which most are only 3 miles from my house and I can't take a chance on losing air at a bad area. The other issue I found when I tried going tubeless the first time around is these Bontrager Line Comp 30, Tubeless Ready rims have this fine lip on the inner side of the bead channel (pictured) that hampers the bead from popping in correctly.

So I finally said screw it and took it to my Trek LBS and he installed an $11 tube and charged me $16 to install using his high volume compressor.

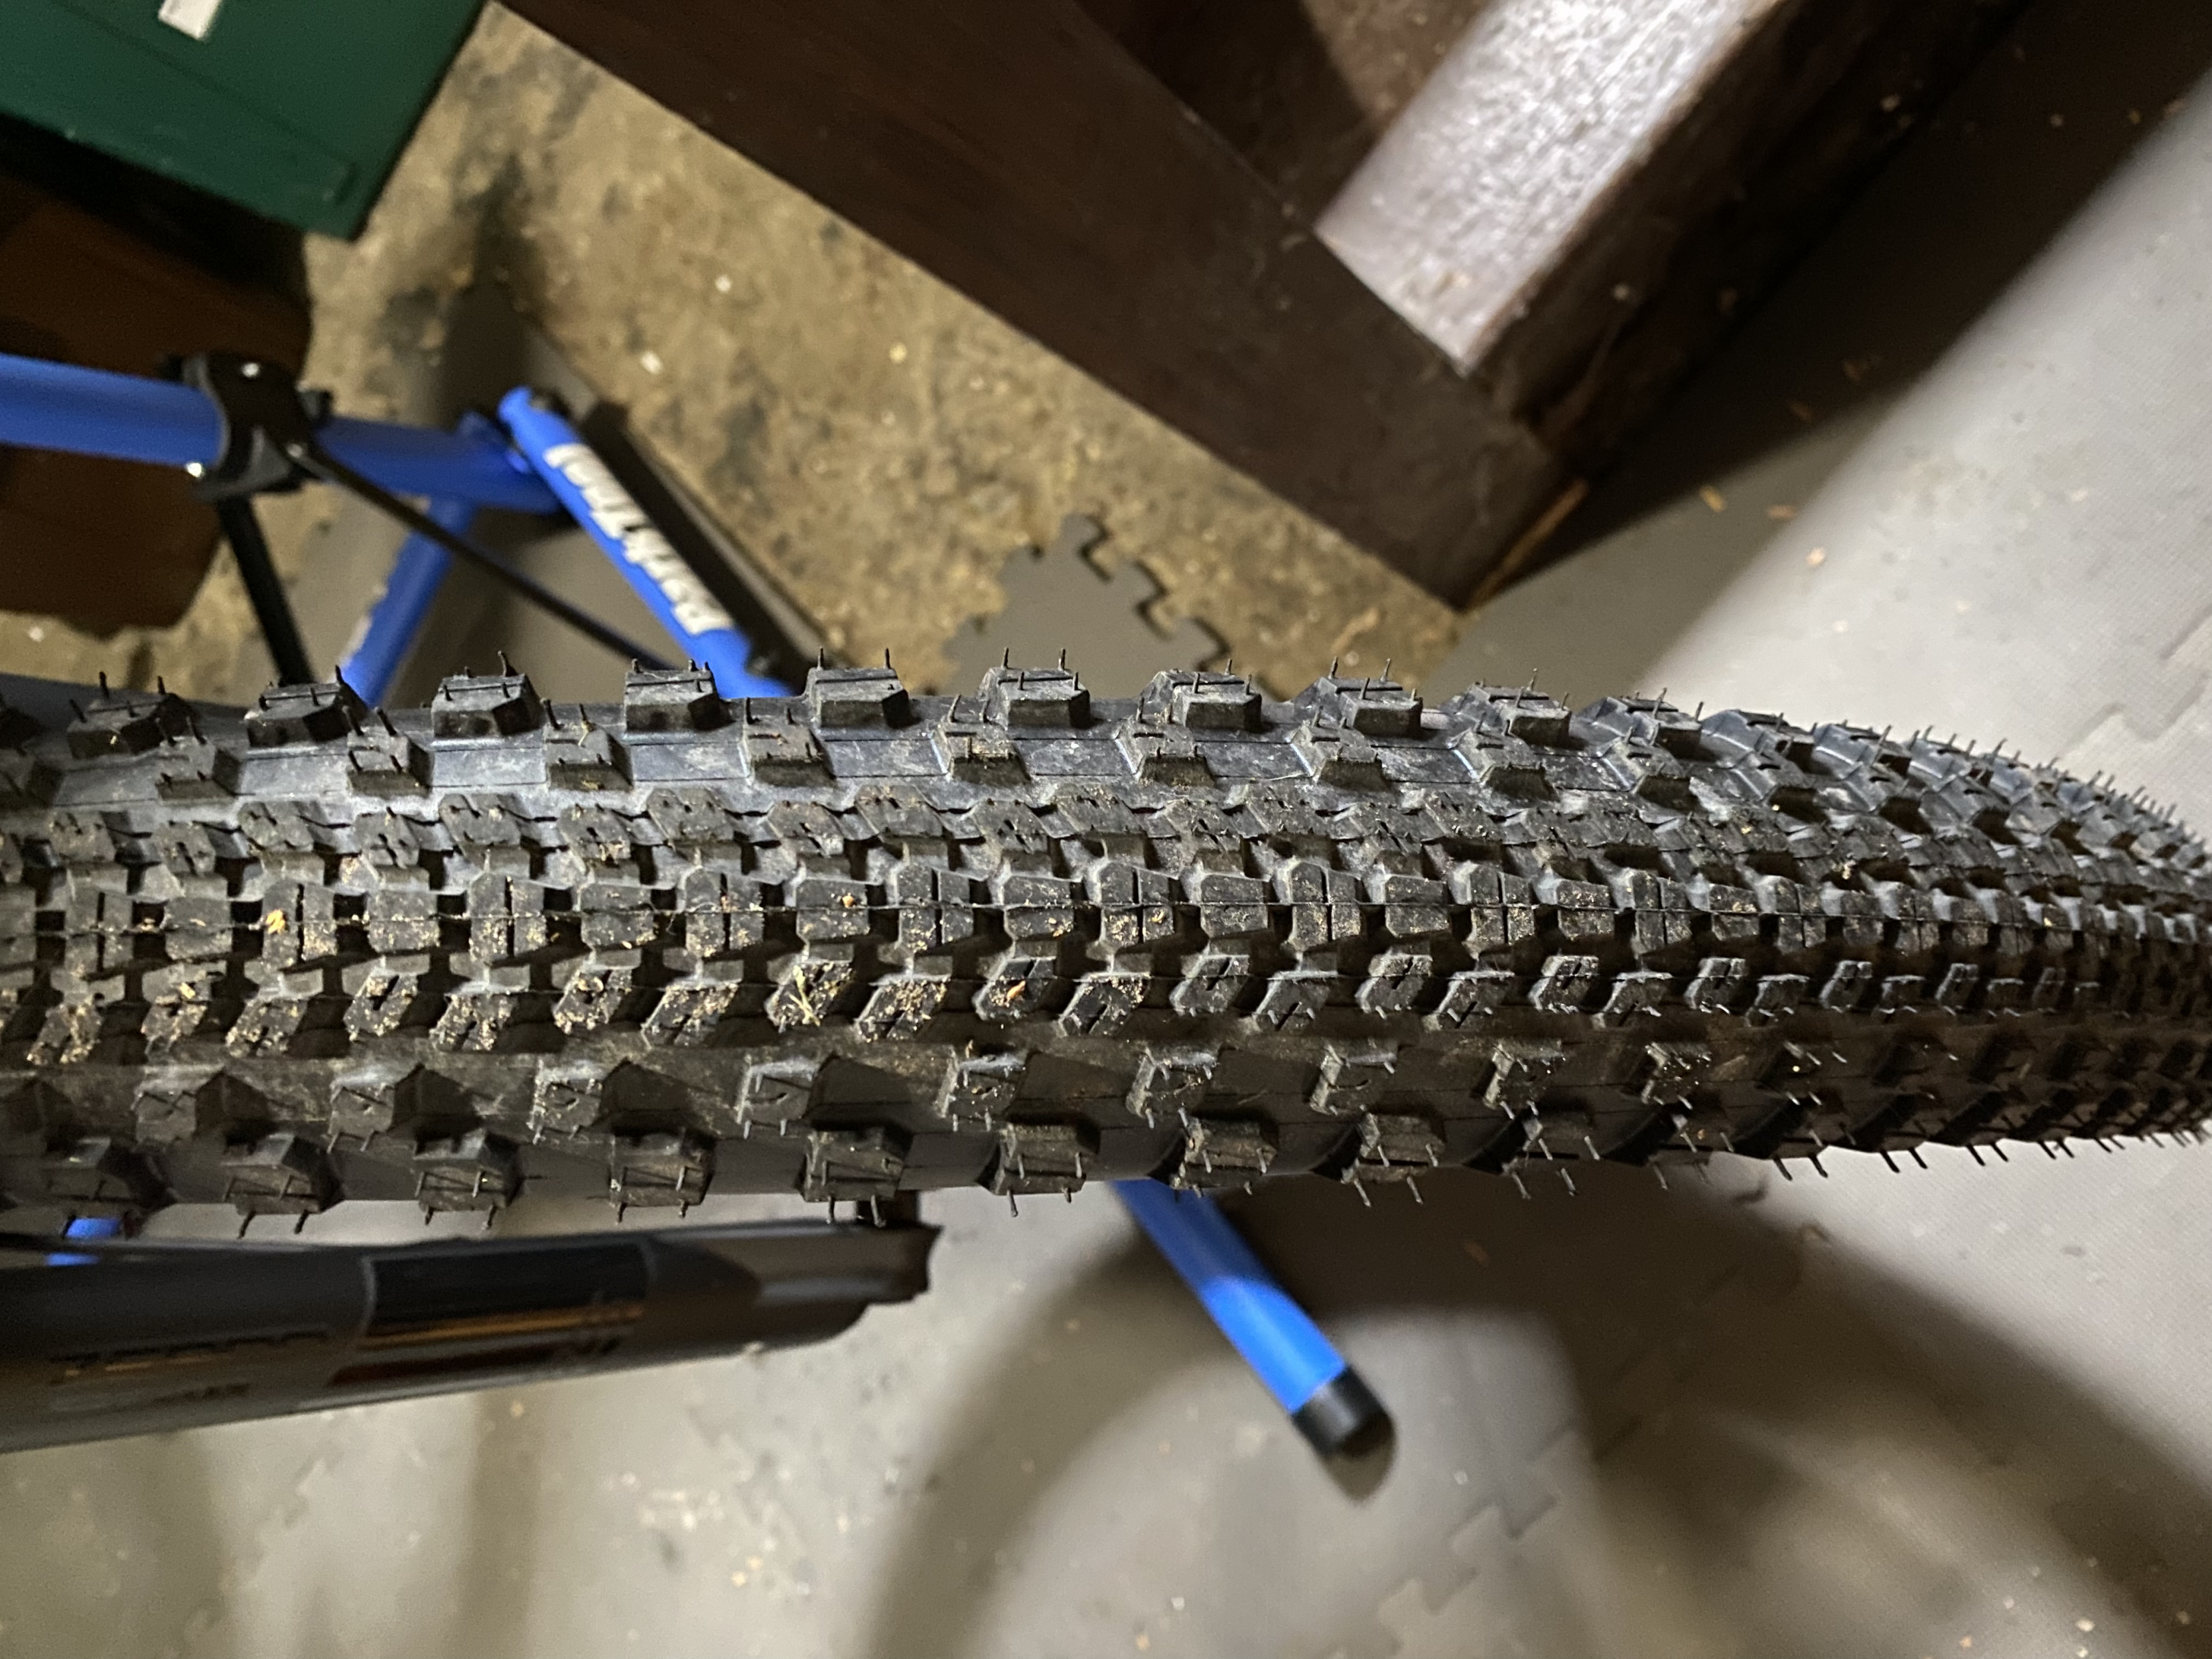
These $45 2.5 wide Bontrager LT4 Expert Reflective I've grown to love the tread pattern. They suit my riding style. Fast rolling in the middle for hardpack, streets and bike paths, yet still somewhat knobby on the sides for single track gripping. The tubeless versions have different tread designs. I have two Ebikes. My Giant has 2 inch tires and more suited to road bike cross counrty trips as they are really fast rolling and it has a top speed of 28 mph assisted. When I first got this Trek Powerfly I could not stand how draggy the tires were so I swapped them out for tubeless 1.95 tires with a fast tread design. First time trying them I was doing like 3 miles an hour coming off grass onto a sidwalk and the rear tire slipped out and next thing I knew I was on the ground briefly unconscious. Thanks God I had bought a MIPS helmet. I shock it off and rode home. Tires came off at the LBS the next morning and they put the OEM back on with tubes again since they could stop the leaking when tubeless mounted.

The LT4's also have a Kevlar layer, so I figured that would help with small punctures but this was from a 2.5 piece of scrap aluminium that I pulled out of the tire. If it was tubeless, I doubt if a bacon strip could have stopped this leak. I used to repair tires as a kid in a gas station next to my house. I used to use bacon strops and plugs but they would vulcanize from the 65 mph heat when driving. I don't trust bacon strips in a bike tire. I'd rather patch the tube.

So you brought up a lot of good tips re going tubeless, but my bottom line is until I can find a high volume compressor for home use I'll stay with tubes. Botranger makes a one shot blaster one for like $165. And I've read about the others and most have too many negaitive reviews. I'm not paying LBS's to mount or repair tubeless. But I need to find some type of reasonably priced high volume compressor first.

IMG_6297.jpeg tempImageC7VdkZ.png
 
Last edited:

steve_sordy

Wedding Crasher
Nov 5, 2018
8,390
8,620
Lincolnshire, UK
@Expidia To get the tyre mounted on the rims evenly, so that the line is parallel to the rim:

Let the air out a lot. Enough that the tyre stays on the wheel but is squashy. Hold the wheel in front of you with the problem bit facing away and at the top. Get a firm grip on the tyre and wave the wheel back and forth. Use the weight of the wheel to pull the tyre further out. If the tyre doesn't move, let more air out. Keep at it the swinging until the line is parallel. Repeat around the tyre wherever the line is too close to the rim. If you have a strong grip, instead of swinging, you could just use your fingers, but I find swinging does the job quickly with little effort.

I used to get this problem a lot until I started using soapy water on the rim and the tyre bead. This lubricates the interface and allows the exploding air pressure to properly seat the bead into the rim.

PS: Thanks for the kind words. :)
 

Expidia

Well-known member
Subscriber
Jun 27, 2022
547
435
Capital Region, New York
@Expidia To get the tyre mounted on the rims evenly, so that the line is parallel to the rim:

Let the air out a lot. Enough that the tyre stays on the wheel but is squashy. Hold the wheel in front of you with the problem bit facing away and at the top. Get a firm grip on the tyre and wave the wheel back and forth. Use the weight of the wheel to pull the tyre further out. If the tyre doesn't move, let more air out. Keep at it the swinging until the line is parallel. Repeat around the tyre wherever the line is too close to the rim. If you have a strong grip, instead of swinging, you could just use your fingers, but I find swinging does the job quickly with little effort.

I used to get this problem a lot until I started using soapy water on the rim and the tyre bead. This lubricates the interface and allows the exploding air pressure to properly seat the bead into the rim.

PS: Thanks for the kind words. :)
Hi Steve, thx for the added tip. One of the problems is the side walls of these particular tires are very thin. The first time I broke the bead to swap over to tubeless it was a bear to do. The sidewalls are so flexible it's very hard to get a grip on them plus due to arthritis my hands are weak anyway. Luckily when I got a flat on the trail because the LBS never throughly cleaned off the Muc-off from the inside of the tire their was enough lubrication to break the bead. But it was all in vain as I could not get the patched tube to hold air due to an unfound 2nd hole!

That waving and swiinging I can see will work, great tip.

I still need a high volume quick blaster pump to keep at home to seat TRL tires Any recommendations? Most of the Chinese imported high volume pumps on Amazon have too many complaints. I do see that Bontrager makes a $165 one shot pump that stores up the air in a seperate chamber for bead seating, but that has also has high percentage of complaints too.
 
Last edited:

steve_sordy

Wedding Crasher
Nov 5, 2018
8,390
8,620
Lincolnshire, UK
I have had an Airshot tubeless tyre inflator for many years. It works every time, simple to use. I paid £65 for mine when they first came out, they are a lot cheaper now!


Expidia

Well-known member
Subscriber
Jun 27, 2022
547
435
Capital Region, New York
This is the pump I was looking at for seating beads:

BONTRAGER TLR FLASH CHARGER FLOOR PUMP​

From a 2022 review . . . BUT reviews can't be trusted because they are biased as they get the products for free, earn a commission or if they don't give a good review companies won't send them products to evaluate. The only reviews I traust are from actually users like on a forum.

Review: The TLR Flash Charger is a good alternative to an air compressor when it comes to installing tubeless tires. The large vertical tank can be pressurized to 160 psi, the maximum pressure read by the digital gauge. To install tubeless tires, place the nozzle on the valve, and when the tank is pressurized, flip the release lever from Charge to Inflate. Opening and closing that lever isn’t a binary choice—you can modulate the pressure as it’s released. When installing a mountain bike tire, we were nervous to blast in 160 pounds at one shot, but found it very handy to let air in, in small bursts, giving the tire time to settle. The TLR Flash Charger also works well as a traditional high-pressure pump. The digital gauge is, according to our testing, accurate up to 100 psi, which is the maximum pressure our testing device measures, and that gauge measures pressure in one-tenth increments. The pump is a little big and unwieldy to throw into the back of a car, but it’s a great tool for the home workshop
 

Expidia

Well-known member
Subscriber
Jun 27, 2022
547
435
Capital Region, New York
I have had an Airshot tubeless tyre inflator for many years. It works every time, simple to use. I paid £65 for mine when they first came out, they are a lot cheaper now!

Ya, I saw that one last month on Amazon when I was looking around. Only $63, but many of the negative reviews say it's just a compressor and not a strong quick release for high volume wider emts type tires. It looks like it's fine for road bike narrower tires.
 

irie

E*POWAH Elite World Champion
Subscriber
May 2, 2022
2,004
1,950
Chichester, W.Sussex, UK
I used to get this problem a lot until I started using soapy water on the rim and the tyre bead. This lubricates the interface and allows the exploding air pressure to properly seat the bead into the rim.

Is what I do - either soapy water or a smear of tubeless sealant on the inner sides of the rims. Also use an Airshot when necessary, biggest tyres I've done with it are 29x2.8", works fine.
 

EMTB Forums

Since 2018

The World's largest electric mountain bike community.

522K
Messages
25,713
Members
Join Our Community

Latest articles


Top