AXS Upgrade Issues

-nick

New Member
Joined
Jul 9, 2025
Messages
20
Reaction score
5
Location
United Kingdom
Hello all,

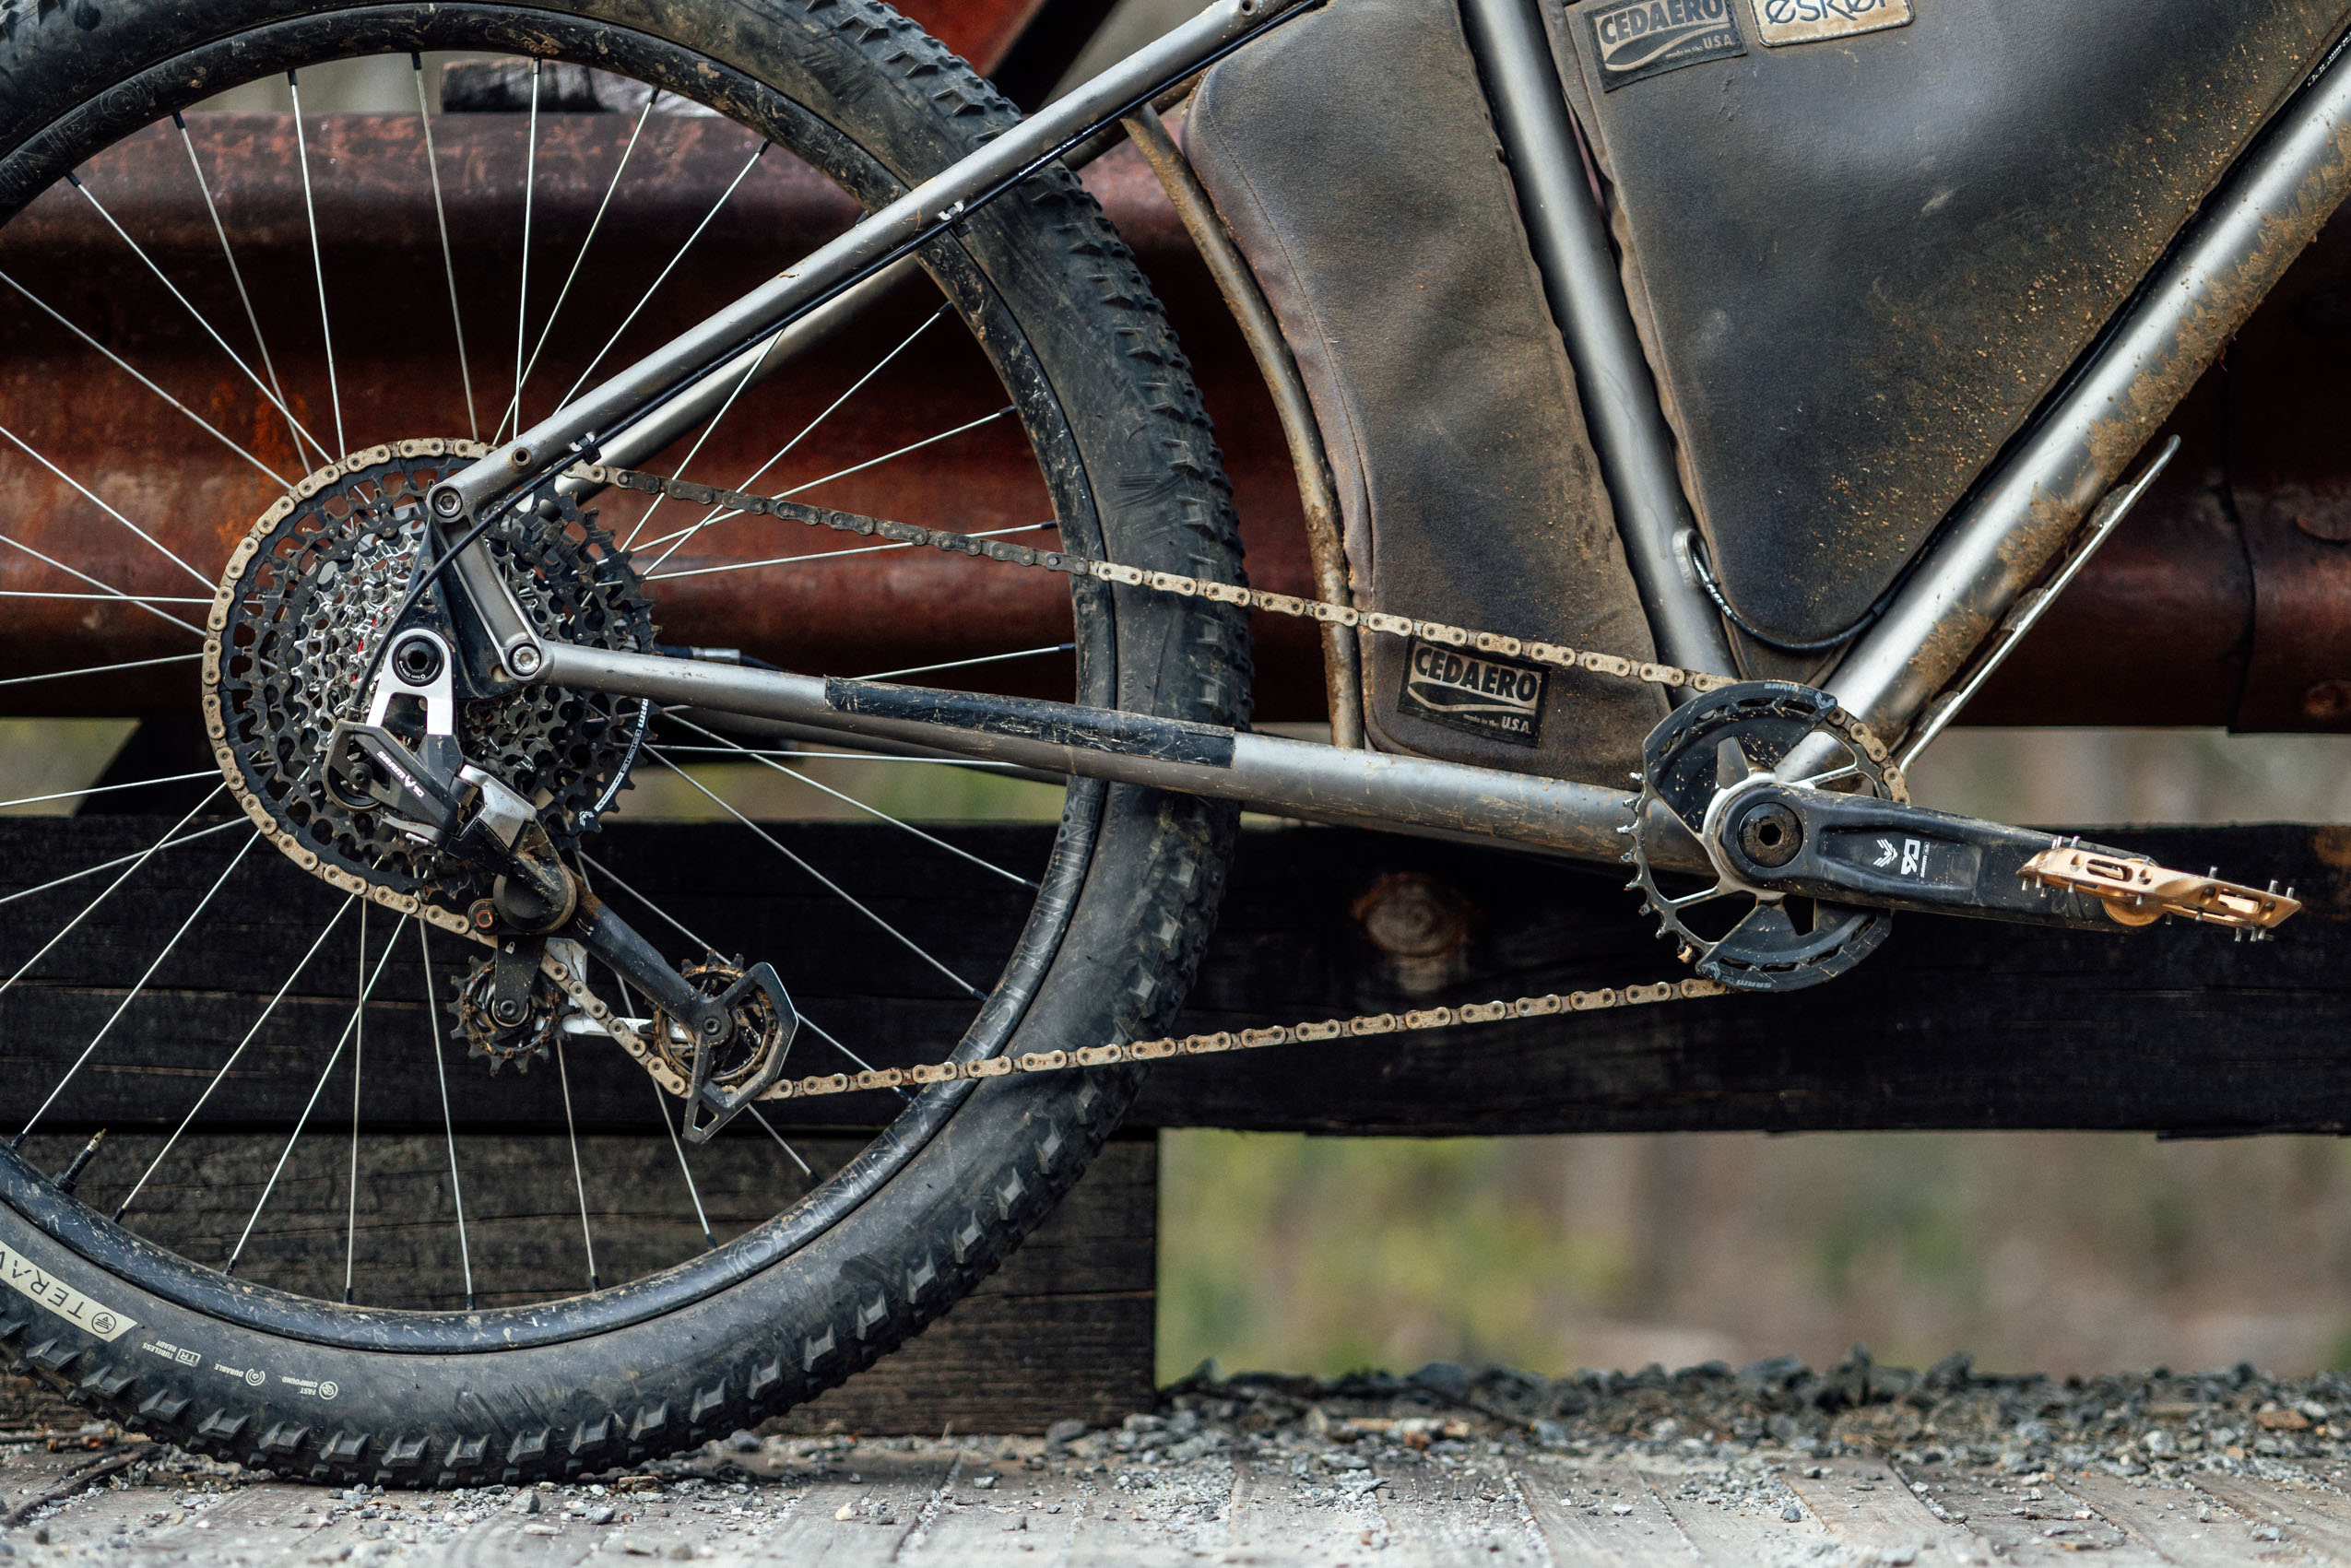
I recently installed the T Type AXS Upgrade kit & cable to my PL Carbon (Non pro)

However when in the largest cog the derailleur is rubbing against the gear?

I followed SRAM instructions and put the derailleur into setup key B and into the 7th gear when tightening to spec (35NM)

Any ideas?

Thanks

3.jpg 2.jpg 1.jpg
 
⚡ EMTB Pro Go Pro — Living Intelligence Reports, exclusive discounts & ad-free Up to 25% off Peaty's, PEMBREE, Magicshine & more · Ad-free browsing · Pro badge See the deals →
Chain length? That's a very critical part of the equation here.
 
I was under the impression the chain length doesn't change when fitting the upgrade kit?
That's certainly possible - just throwing it out there as something to consider. Also, be super sure you followed the instructions EXACTLY for the setup procedure (which cog to be on when tensioning/tightening the main pivot bolt, be sure you've full pulled it backwards, and torque to spec EXACTLY).
 
Interestingly Amflow support recommend using setup key A which goes against the SRAM website recommended setup key B.

Will try this when I'm back with the bike
 
Interestingly Amflow support recommend using setup key A which goes against the SRAM website recommended setup key B.

Will try this when I'm back with the bike

Ask them also which cassette cog to be on when doing the final tensioning/adjustment.
 
Ask them also which cassette cog to be on when doing the final tensioning/adjustment.
They said the 7th as per SRAM instructions.

I’ve followed Amflows instructions using setup key B and the 7th cog when torquing up but the derailleur is still touching the largest cog when in 1st gear.
 
They said the 7th as per SRAM instructions.

I’ve followed Amflows instructions using setup key B and the 7th cog when torquing up but the derailleur is still touching the largest cog when in 1st gear.
OK. Give SRAM a call - their rider support is excellent. They'll get you sorted.
 
However when in the largest cog the derailleur is rubbing against the gear?

I followed SRAM instructions

Easy peasy. The problem is that SRAM made their set up too easy, and the result is a little variation in how each user pulls on the derailleur and tightens it up.

Remember the old B-Screw for adjusting how far the jockey wheel is from the cassette? That distance is still important, but we no longer have a B-Screw. To complicate it more, the jump between sizes on the larger cogs is a lot. If things are too close, the cage will crash into the cog during shifts. If things are too far out, shifting won't be crisp.

See the shiny part that goes through the frame and has the line on it? Rotating that one way or the other is like adjusting your B-Screw. Rotate it one way, and the jockey wheel cage will be closer to the cogs. Rotate it the other way, and it gets further away. I forget which way does what. But it's so simple to adjust, that you'll want to play with it and see what it does. My advice is to adjust it so the cage is as close as possible to the cogs when it's shifting from 3 to 2 to 1.

To adjust, I like to put a mark on the frame with a silver pencil. Lock out the jockey wheel cage so you can easily rotate the derailleur, and use that to move the shiny thing to exactly where you want it. Experiment with it while the bike is on the stand. In ten minutes, you'll be better at it than 95% of the bike store boys.
 
Easy peasy. The problem is that SRAM made their set up too easy, and the result is a little variation in how each user pulls on the derailleur and tightens it up.

Remember the old B-Screw for adjusting how far the jockey wheel is from the cassette? That distance is still important, but we no longer have a B-Screw. To complicate it more, the jump between sizes on the larger cogs is a lot. If things are too close, the cage will crash into the cog during shifts. If things are too far out, shifting won't be crisp.

See the shiny part that goes through the frame and has the line on it? Rotating that one way or the other is like adjusting your B-Screw. Rotate it one way, and the jockey wheel cage will be closer to the cogs. Rotate it the other way, and it gets further away. I forget which way does what. But it's so simple to adjust, that you'll want to play with it and see what it does. My advice is to adjust it so the cage is as close as possible to the cogs when it's shifting from 3 to 2 to 1.

To adjust, I like to put a mark on the frame with a silver pencil. Lock out the jockey wheel cage so you can easily rotate the derailleur, and use that to move the shiny thing to exactly where you want it. Experiment with it while the bike is on the stand. In ten minutes, you'll be better at it than 95% of the bike store boys
Do you mean the knurled U shaped washer with the line/notch on it?

I thought that needed to be snug against the stopper when tightening the derailleur to the frame?

Any deviation eg the stopper is sat in the middle of the knurled ring means the line won’t match the line on the full mount?

HEIF Image.jpeg
 
Last edited:
This thing... the shiny contraption with the line on it. If I recall correctly, it tightens with an 8 mm Allen wrench. Loosen it up and it will rotate. You're rotating it when you set up the derailleur according to the manufacturer's instructions, then you tighten it down.

Here's what to do:
Lock the derailleur cage so you have slack in the chain. Loosen the axle and the 8 mm fastener just a bit. You can now rotate the derailleur by hand to get the shiny part exactly where you want it. Now tighten the 8 mm fastener. If I recall correctly, rotating the shiny part CCW moves the jockey wheel cage closer to the cassette, and CW moves it away. I might have it backwards, but you'll see when you start adjusting it.

Just do it. When everything is back tight, run through the gears and watch how far the jockey wheel is from the cassette. The closer you get, the better it will shift, until you get too close and the parts crash into each other. Now rotate the shiny thing the other way and see what effect it has.

I like to put a little line with a silver pencil on the bike frame, to mark the line on the shiny part. That way I have a reference as I move it back and forth. The pencil mark will wipe off with your finger when you're done.

SRAM-XX-T-Type-Eagle-Transmission-Powermeter-AXS-groupset-38-44cdb31.jpg
 
Note that you need to lock the cage in a slightly different location than you might be used to with regular AXS.
 
Easy peasy. The problem is that SRAM made their set up too easy, and the result is a little variation in how each user pulls on the derailleur and tightens it up.

Remember the old B-Screw for adjusting how far the jockey wheel is from the cassette? That distance is still important, but we no longer have a B-Screw. To complicate it more, the jump between sizes on the larger cogs is a lot. If things are too close, the cage will crash into the cog during shifts. If things are too far out, shifting won't be crisp.

See the shiny part that goes through the frame and has the line on it? Rotating that one way or the other is like adjusting your B-Screw. Rotate it one way, and the jockey wheel cage will be closer to the cogs. Rotate it the other way, and it gets further away. I forget which way does what. But it's so simple to adjust, that you'll want to play with it and see what it does. My advice is to adjust it so the cage is as close as possible to the cogs when it's shifting from 3 to 2 to 1.

To adjust, I like to put a mark on the frame with a silver pencil. Lock out the jockey wheel cage so you can easily rotate the derailleur, and use that to move the shiny thing to exactly where you want it. Experiment with it while the bike is on the stand. In ten minutes, you'll be better at it than 95% of the bike store boys.

Just a heads up that this 'shiny part' does not affect the lateral position of the derailleur. It only affects the vertical B gap between the top pulley and the cassette.

For peace of mind I took it to my LBS who concurred that I had set it up correct but the tolerances are very tight for the lateral clearance (dropout, paint thickness variances can and will change the lateral clearance)

I have to settle with Micro shift 10 in the SRAM app to clear the face of the cassette with probably 0.3mm clearance. Not great but it's shifting fine and not rubbing.
 
Keep reading
    Browse all

    Similar Threads

    Community Stats

    Since 2018
    674K
    Messages
    41,817
    Members
    Join 30,000+ Riders, it's free!
    Back
    Top